
Manage projects and collaborate using teams. Ptero provides two team types to fit different organization structures.
Team Types #
- Personal Team
- Your private space
- Automatically created as
{Username}'s teamwhen you log in - Only you can access this team
- Shared Team
- Team space for collaboration
- Multiple users can work together
- Members have Admin or Member roles
Create Team #

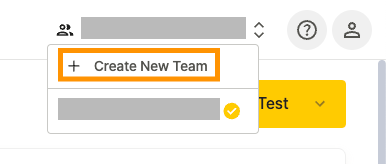
1. Click {Username}'s team in the top-right corner and click Create New Team.
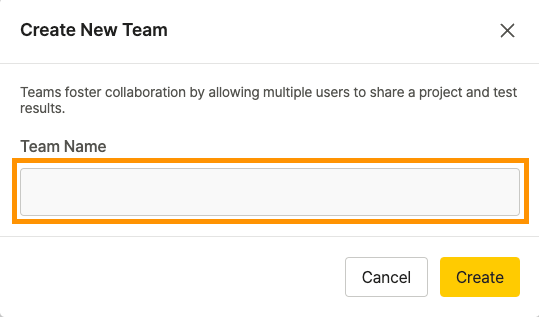
2. Enter the team name and click Create.
Team Search #
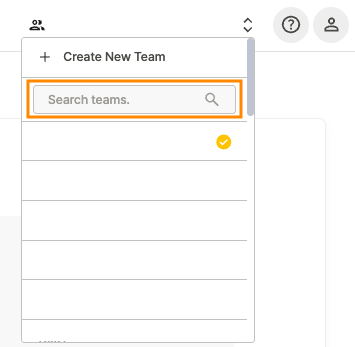
Click {Username}'s team in the top-right corner to search for a team.
Team Settings #
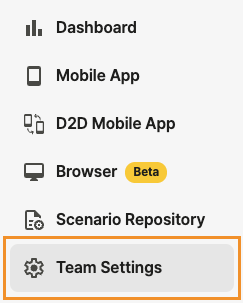
Manage your team through Team Settings in the sidebar.
Team Info #
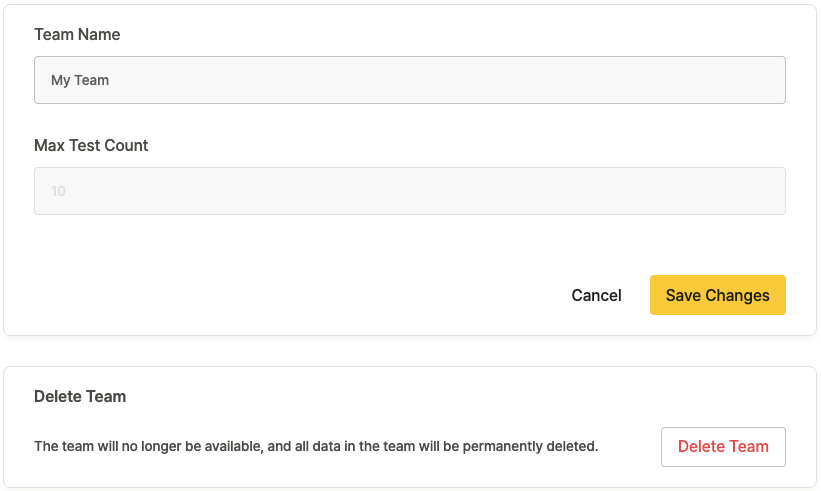
Manage basic team information.
- Team Name: Name of the team
- Personal team names cannot be changed
- Shared team names can only be changed by Admins
- Max Test Count : Maximum number of tests that can run at the same time
- Set automatically based on your plan and cannot be changed
- Delete Team: Remove the team
- Personal teams cannot be deleted
- Only Admins can delete shared teams
Members #

Manage team members. Use the search bar to find specific users.
- Username
- Email Notification: Turn on/off email alerts for test results
- Billing Manager: Person who manages payment information
- Personal teams: Automatically set to the team owner
- Shared teams: Can be assigned to any Admin
- Role: Team permission level
- Admin: Full team access and can manage other members (At least one Admin is required)
- Member: Team member who can only change their own settings
 : Remove member from team
- Admins can remove members, but cannot remove themselves from personal teams.
Labels #
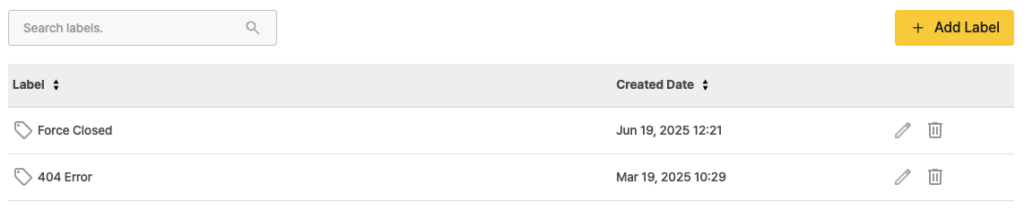
Organize tests using labels. Use the search bar to find specific labels.
- Label: Label name
- Created Date: When the label was created
 : Edit label name
- : Delete label
Create Label #
- Click the
 button.
- Enter the label name and click Add.
Alarm Settings #

Set up email alerts when test errors occur.
- ID: Alarm ID
- Recipient: Who receives the alert
- Project: Project to monitor for test results
- Sends notifications when test results show warning or failed status.
- Execution: Shows if the alarm is active
- : Edit alarm settings
- : Delete alarm
Create Alarm #
- Click the
 button.
- Set up the alarm:
- Recipient: User who will receive alerts
- Project: Project to monitor
- Enable Alarm: Turn the alarm on/off
- Click Add to create the alarm.
All Schedules #
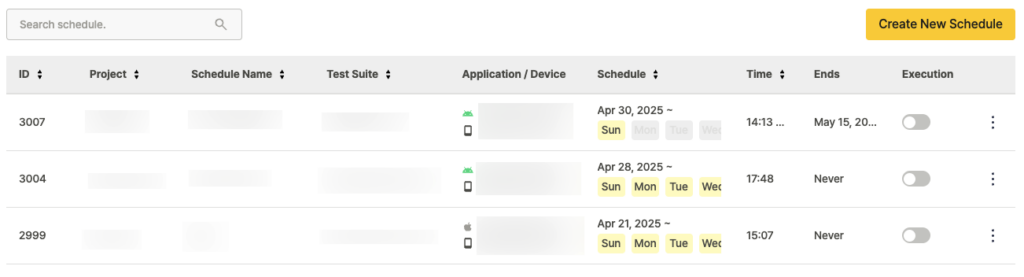
Manage all schedules set up by your team. Use the search bar to find schedules by name.
- ID: Schedule ID
- Project: Project where the schedule was created
- Schedule Name: Name of the schedule
- Test Suite: Test Suite used in the schedule
- Application / Device: App and device settings
- Schedule: Start date and repeat days
- Time: Start time
- Ends: When the schedule stops
- Click the ⋮ button next to each schedule:
- Copy: Copy the selected schedule
- Copied schedules are created as inactive
- Names follow the format:
Original Name + Copy + Number(e.g.,Schedule→Schedule Copy 1)
- Edit: Edit inactive schedules only
- Delete: Remove the schedule (cannot be undone)
- Copy: Copy the selected schedule
Status Change History #

View records of test result status changes.
- ID: Test Run ID
- Test Run: Test Suite and Scenario that ran
- Project: Project where the test ran
- Status: Before and after status of test result
- Device / OS: Device and operating system used
- Modified Date: When the status was changed
- Modified By: Who changed the status
- Memo: Notes about the test result