
This section describes how teams use Ptero to share and manage scenarios created in Stego.
Scenarios are managed at the team level.
Team members can share and access scenarios through the Scenario Repository.
Upload Folder #
You can upload entire scenario folders by linking Stego and Ptero with an Access Key.
To learn more, see [Stego User Guide > 4.0 Stego-Ptero Integration].
To upload a folder #
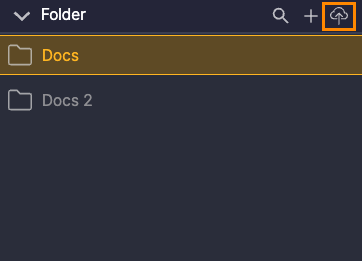
1. Select the folder to upload and click the Upload icon in the upper-right corner of the folder.
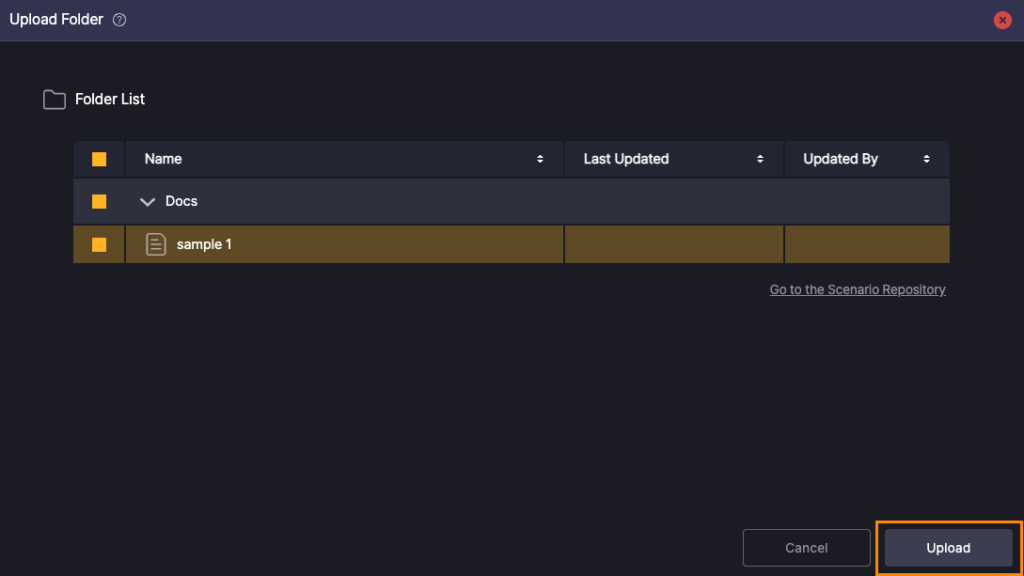
2. In the Upload Folder window, review the scenarios included in the folder and click Upload.
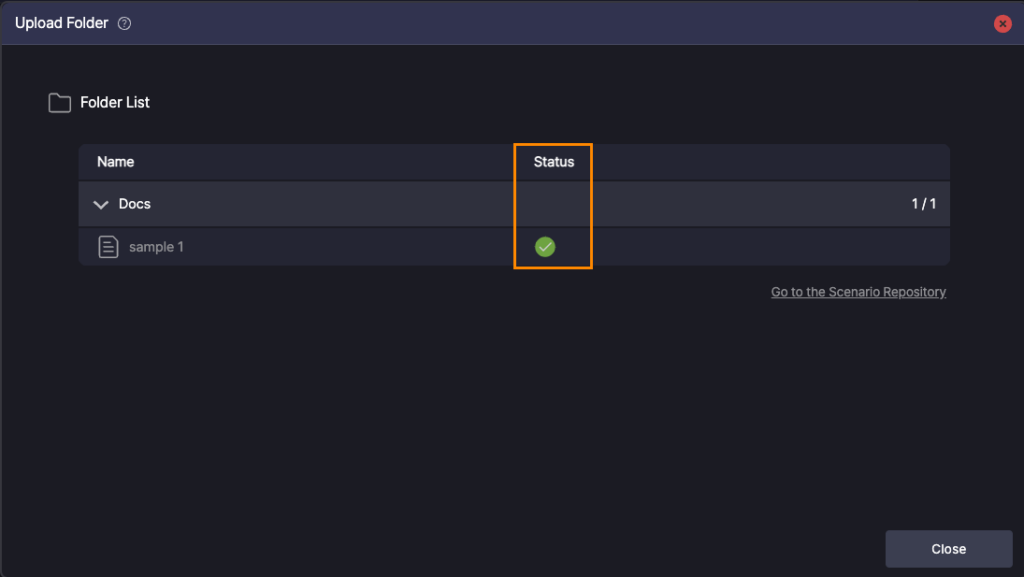
Once the upload completes, a check icon (![]() ) appears in the Status column.
) appears in the Status column.
Folder Icon Legend #
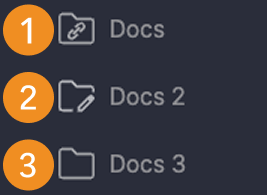
- Appears when the folder is linked to Ptero.
- Appears when the folder contains scenarios already linked to Ptero.
- Default icon for new folders before linking.
Upload Scenarios #
There are 2 ways to upload scenarios: “Ptero Integration Upload” and “Manual Stego File Upload”.
Ptero Integration Upload #
Connect Stego and Ptero with an Access Key, then upload scenarios directly to the Scenario Repository.
To learn more, see [Stego User Guide > 4.0 Stego-Ptero Integration].
Upload by Right-clicking Scenarios #
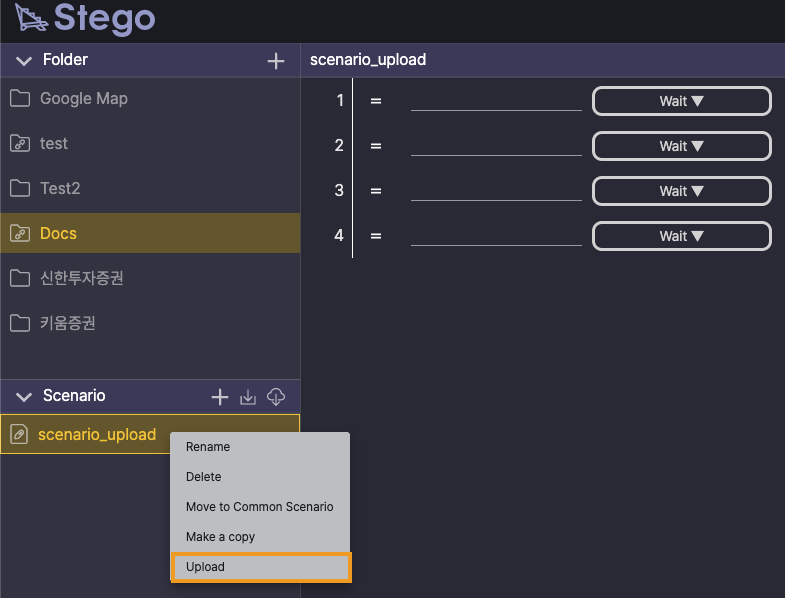
1. In the Scenario panel, select the scenarios to upload (use Shift or Ctrl/Command for multi-select).
2. Right-click the selection and click “Upload”.
Upload Using the Upload Icon #


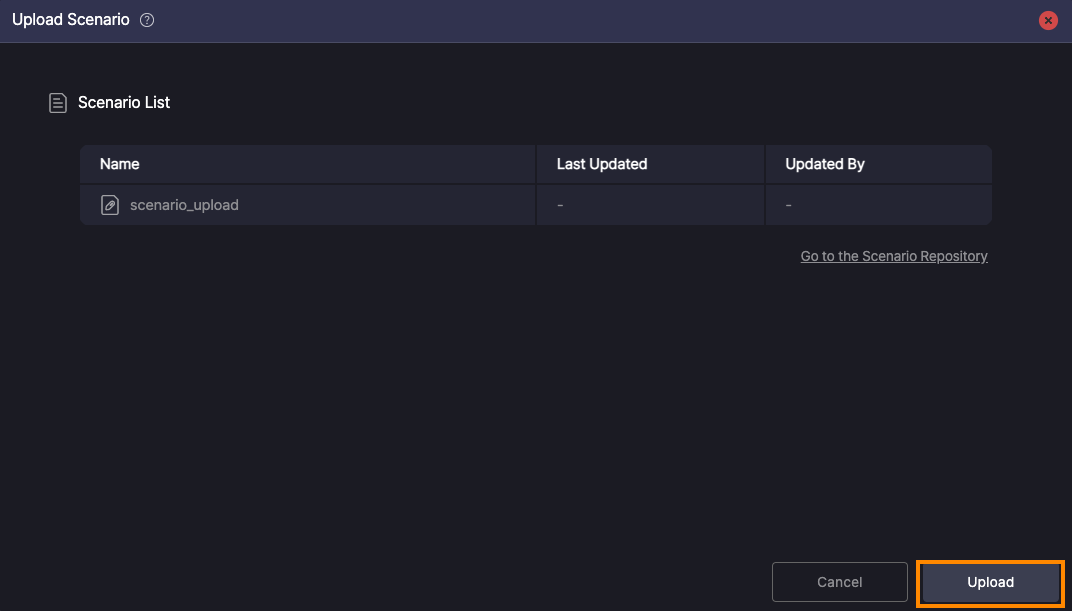
1. After you modify a scenario, an “Upload” icon appears next to it. Click the icon.
2. In Upload Scenario, review the list and click “Upload”.
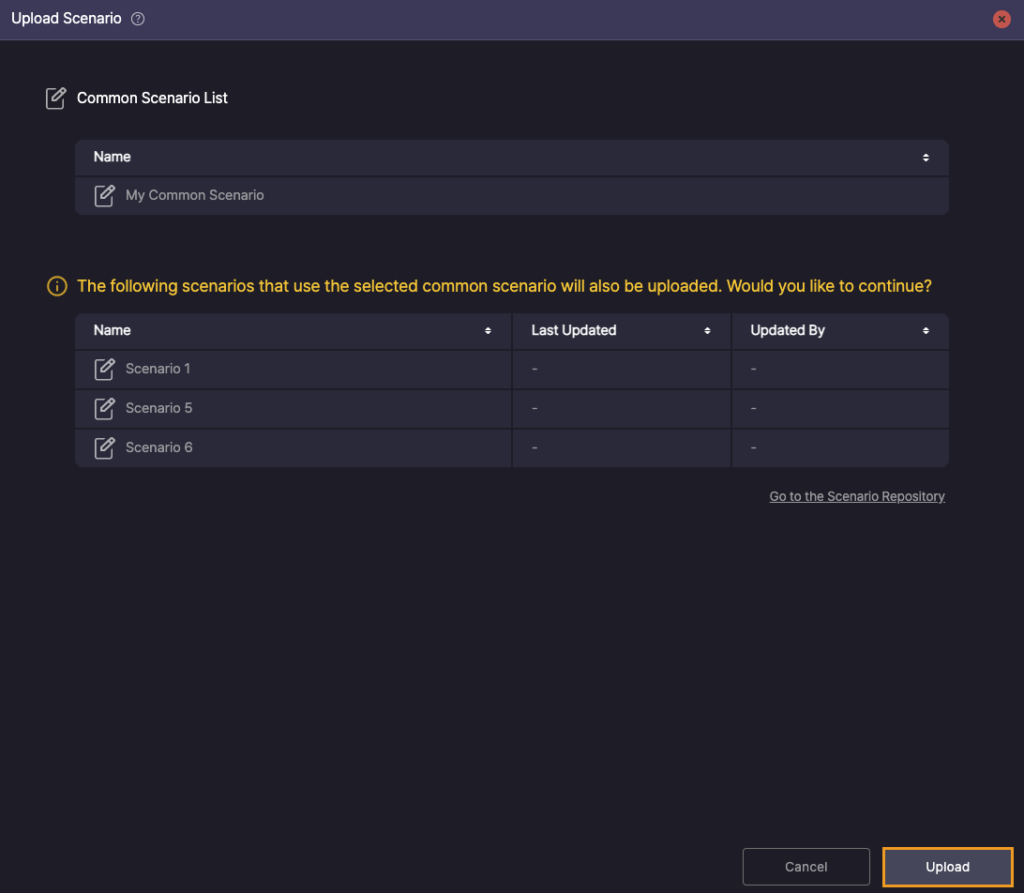
Note
Uploading a Common Scenario also uploads any scenarios that reference it.
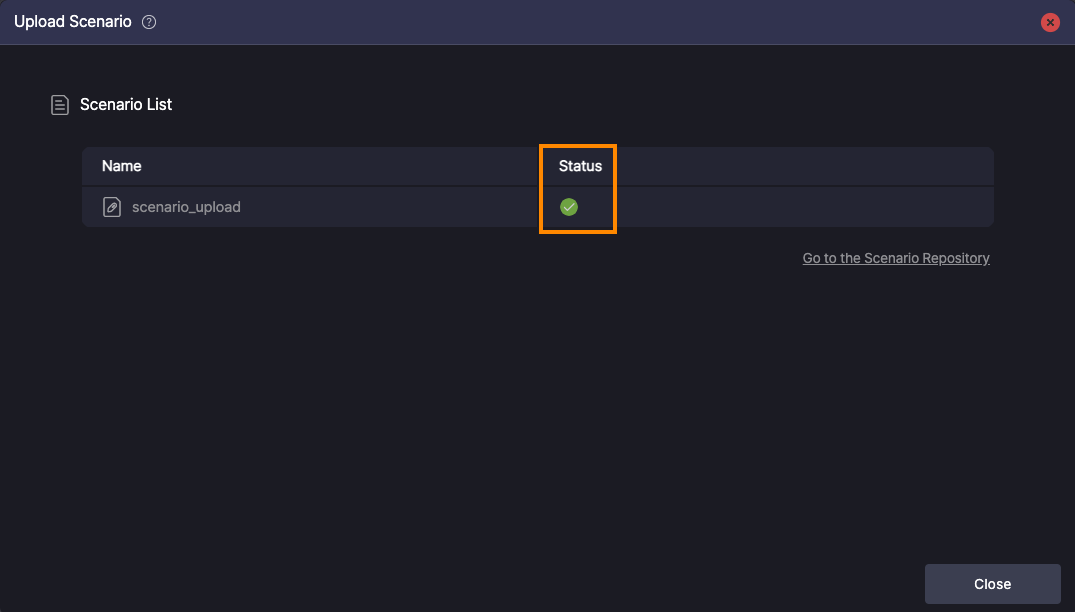
When the upload completes, a check icon ![]() appears in Status.
appears in Status.
The uploaded scenarios appear in “Ptero › Scenario Repository”.
Common Scenario Synchronization #
You can synchronize a Common Scenario in the current folder with those of the same name in other folders.
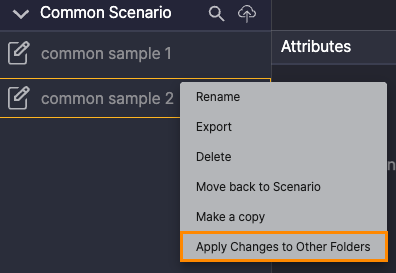
1. Select the Common Scenario to upload (use Shift or Ctrl/Command for multi-select). Then Right-click and choose Apply Changes to Other Folders.
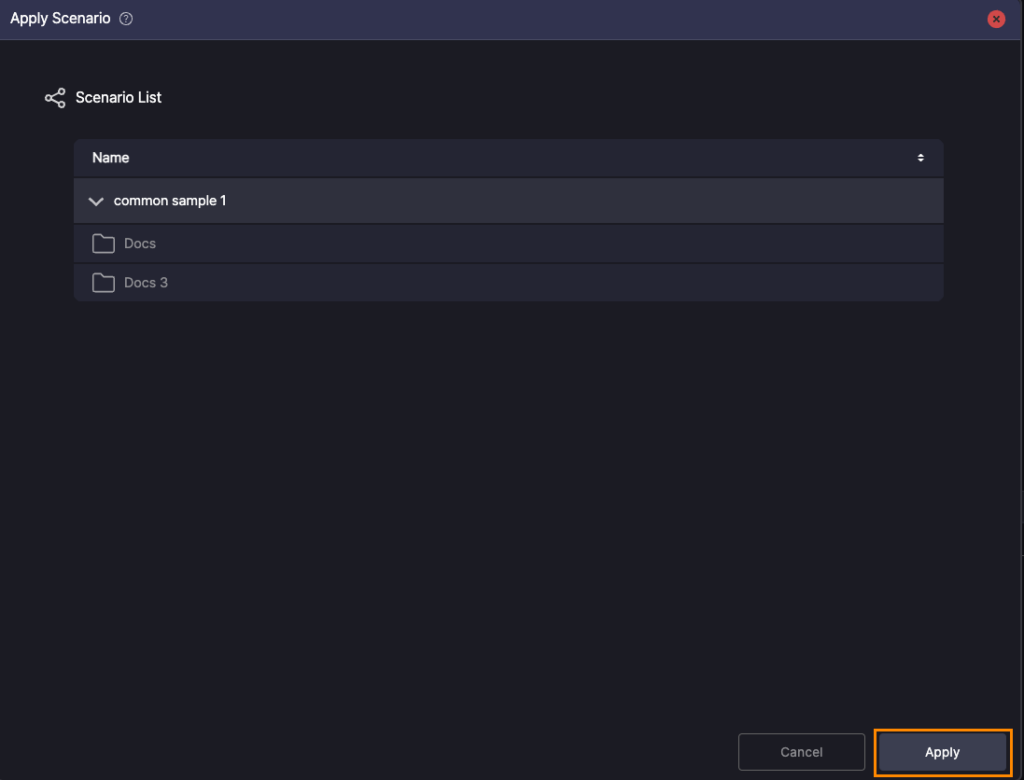
2. Click Apply to synchronize across folders.
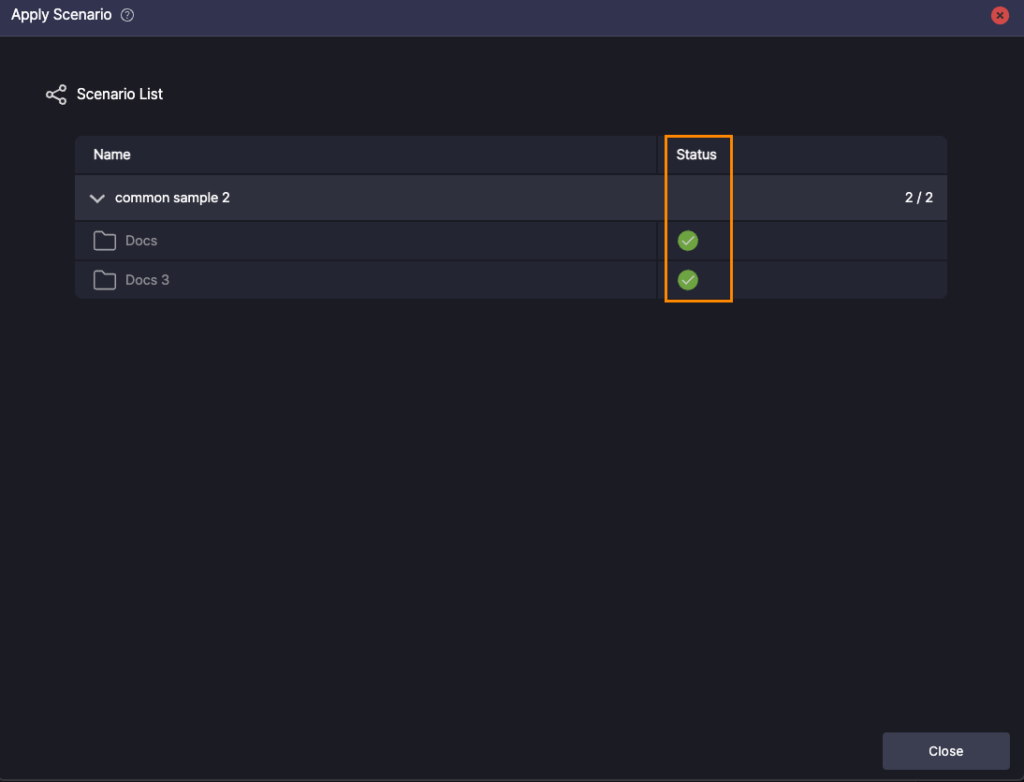
After synchronization, a check icon (![]() ) appears in the Status column.
) appears in the Status column.
Manual .stego File Upload #
Save the scenario as a .stego file in Stego, then upload it to the Scenario Repository in Ptero.
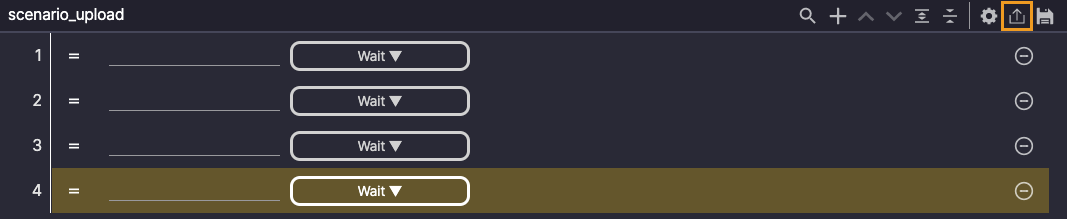
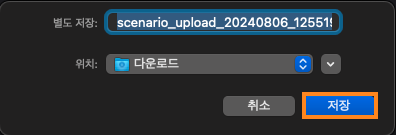
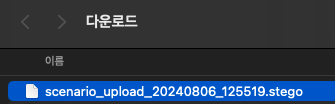
1. In Stego › Scenario Editor, click “Export” to save the scenario as a .stego file.
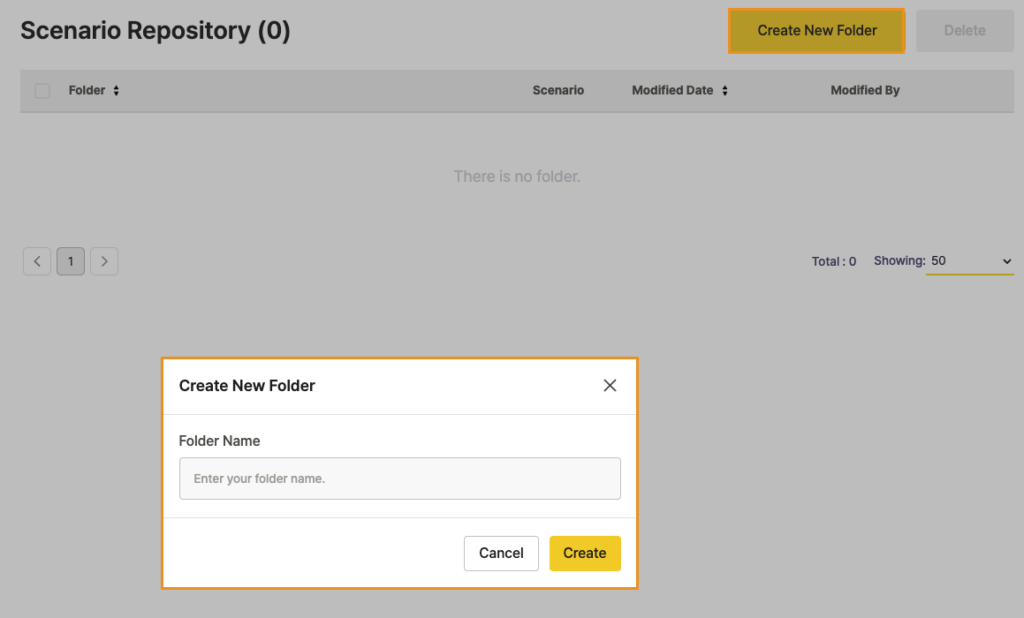
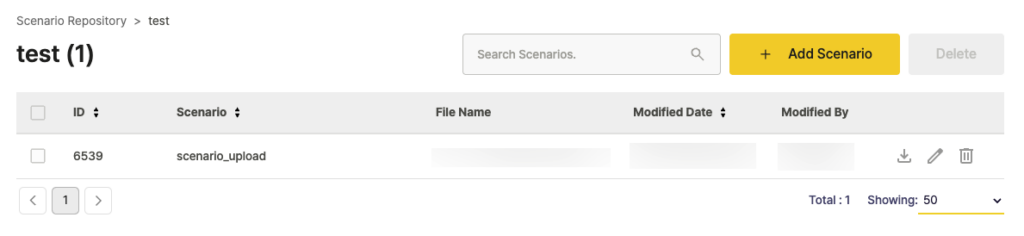
2. In Ptero › Scenario Repository, click “Create New Folder”, enter a name, and create the folder.
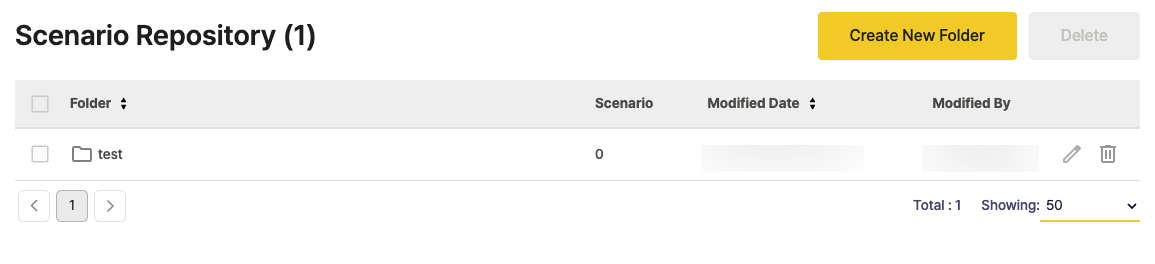
3. Select the folder you created.
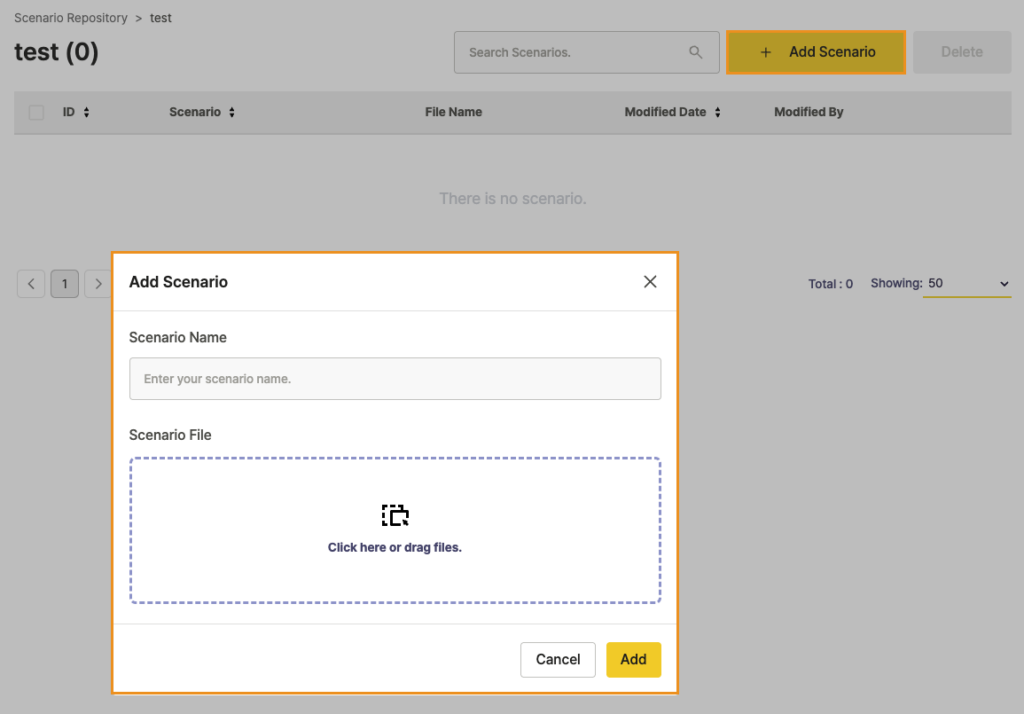
4. Click “Add Scenario”, enter the scenario name, upload the .stego file, then click “Add”.
Recommendation
For easier team-wide management (shared access and consistent repository updates), prefer “Access Key” integration.
Scenario Icon Legend #
Scenario Icon Legend #
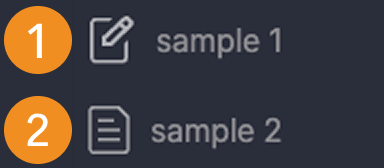
- Appears after a scenario is created or modified but before being uploaded to Ptero.
- Changes to a check icon after being uploaded.
Common Scenario Icon Legend #

- Appears when a scenario using the Common Scenario has been uploaded to Ptero.
- Default icon for new or unlinked Common Scenarios.
Download Scenarios #
Ptero Integration Download #
When Stego is linked to Ptero, you can download scenarios from Ptero’s Scenario Repository to Stego for editing.
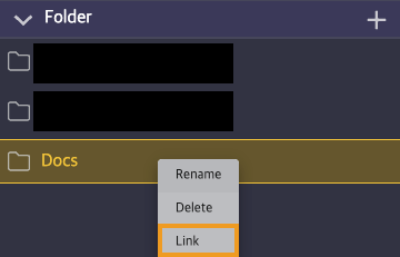
1. In Stego’s Scenario panel, right-click the folder you want to link, click “Link”.
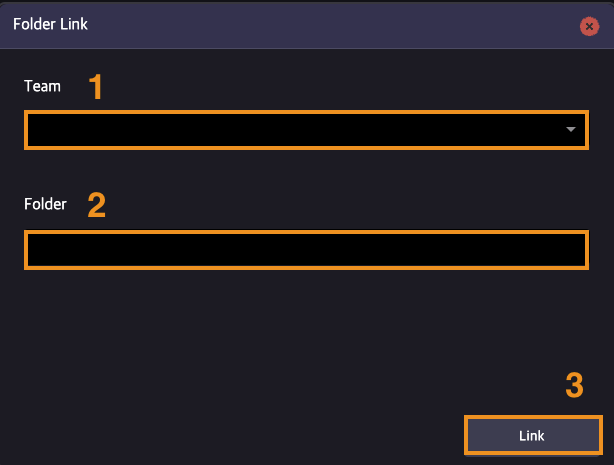
2. Select the “Team” and “Folder” in the dialog and click “Link” to finish.
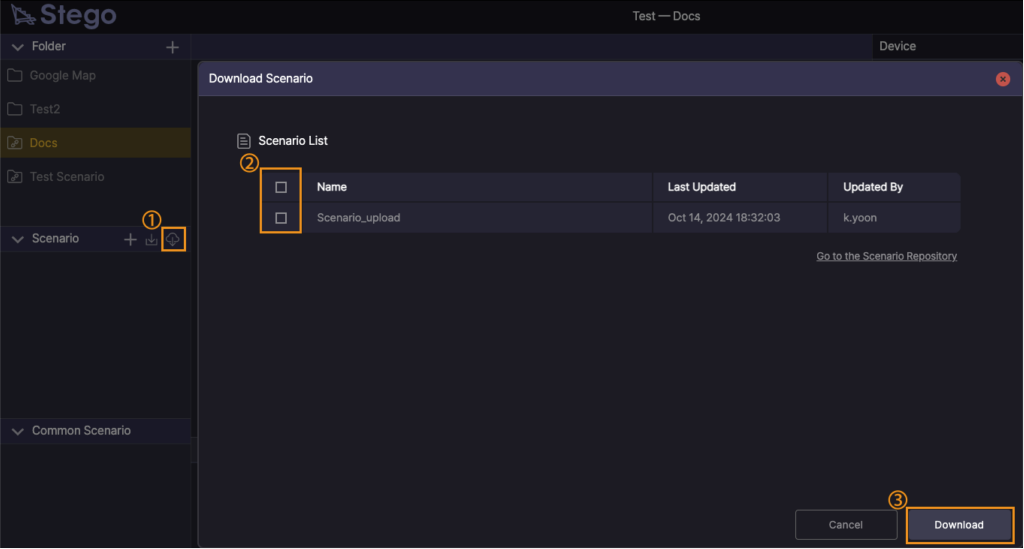
Click the “Download” button at the top-right of the Scenario panel.
In Download Scenario › Scenario List, choose scenarios and click “Download”.
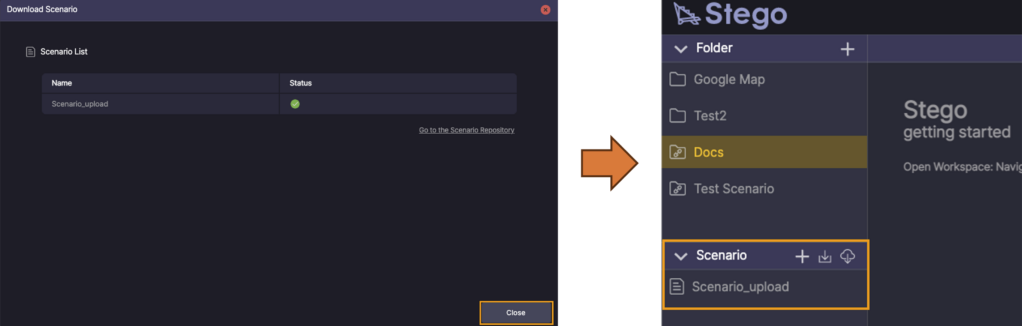
When the download completes, a check icon ![]() appears in “Status”.
appears in “Status”.
Manual .stego File Download #
Download .stego scenario files from Ptero › Scenario Repository and import them into Stego.
- To learn more about downloading scenarios, see [Ptero User Guide > 9.0. Scenario Repository Management].
- To learn more about importing scenarios into Stego, see [Stego User Guide > 2.0. Stego Panel Layout].