
Stego is an AI-powered test scenario authoring tool specifically designed to enable test automation without the need for coding.
The following steps will guide you through installing Stego, connecting test devices, creating test scenarios, and running your tests.
- Install and launch Stego
– Download the installer for your operating system, complete the installation, and launch the application. - Connect devices
– Select a remote device, or connect a local device if you have a valid license.
- Create test scenarios
– Create test scenarios by dragging and dropping UIObjects.
- Run the scenario and view results
– Execute the scenario and review the test results including logs, screenshots, and step statuses.
Install and Launch Stego #
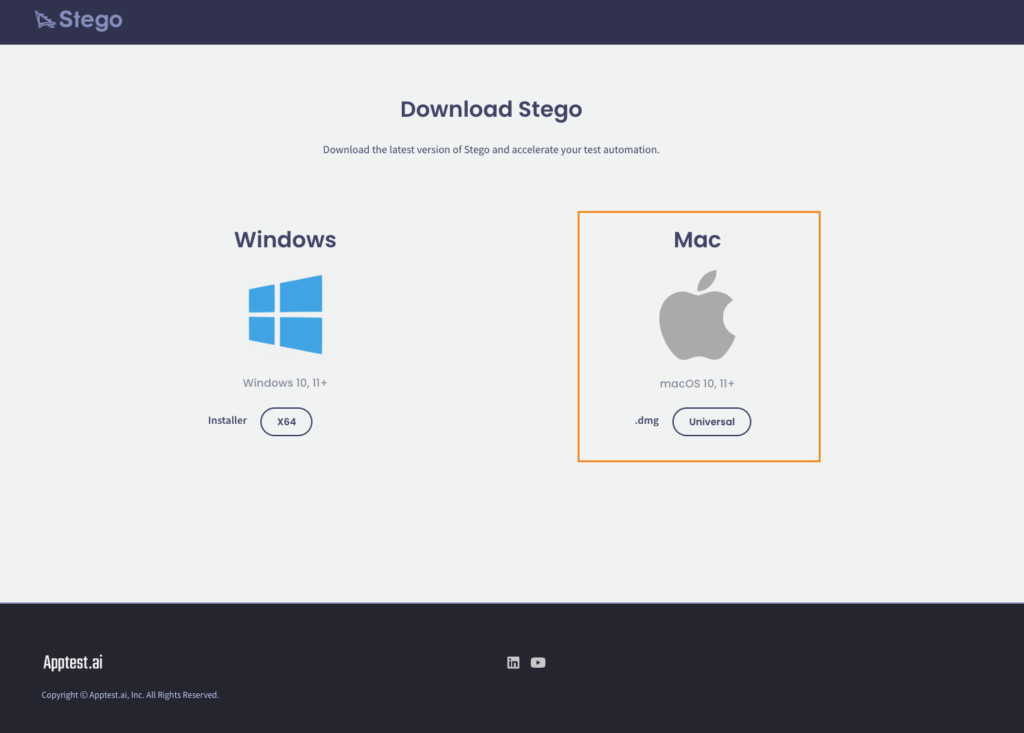
Trial versions of Stego for both macOS and Windows can be downloaded from the official Apptest.ai website.
macOS Installation #
Download the .dmg installer for macOS from the Apptest.ai website.
Locate the downloaded file in the Downloads folder and double-click it to mount the disk image.
Drag the Stego.app file into the Applications folder.
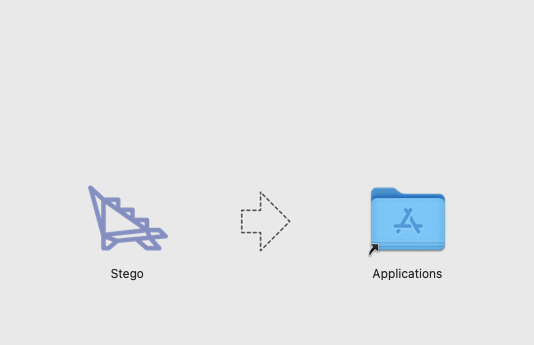
Once the installation is complete, launch Stego via Launchpad or by using Spotlight search.
Windows Installation #
Download the .exe
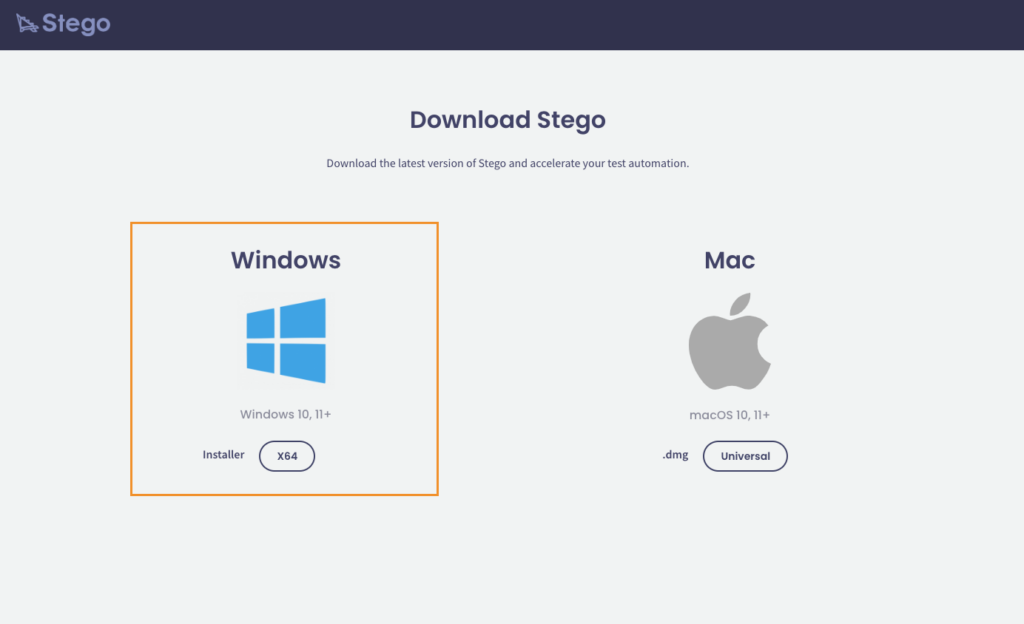
Locate the downloaded file in the Downloads folder and double-click it to mount the disk image.
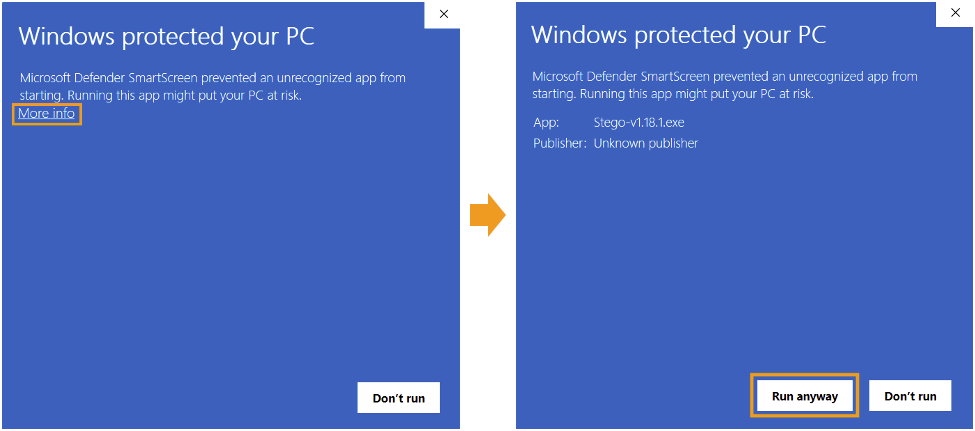
If the installation is blocked by Microsoft Defender SmartScreen:
– Click More info
– Then click Run anyway to proceed
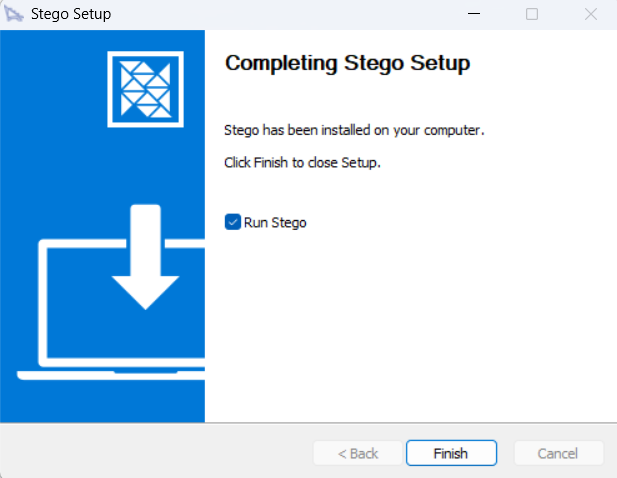
Wait for the installation to complete, then close the Stego Setup window.
By default, Stego will be installed at:C:\Program Files\Stego\Stego.exe
Note) If a new version is available, Stego will automatically update itself upon launch.Connect to the Device Farm #
Stego provides access to real mobile devices through Apptest.ai’s Device Farm, enabling remote testing without physical device connections.
Connecting a Device #
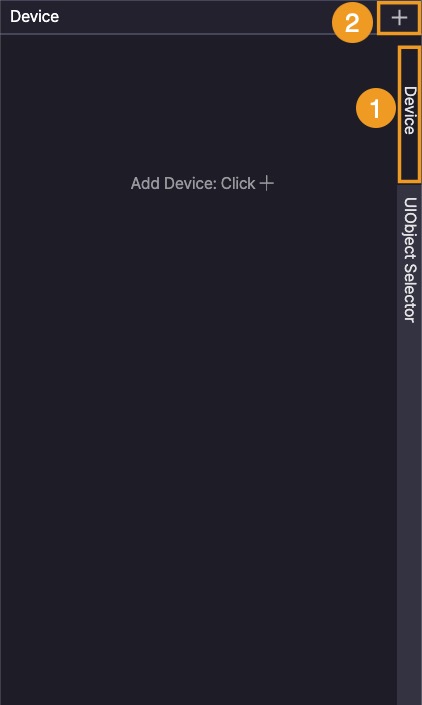
- Click the Device tab in the top-right corner of Stego.
- Click the “+” button to open the Add Device window.
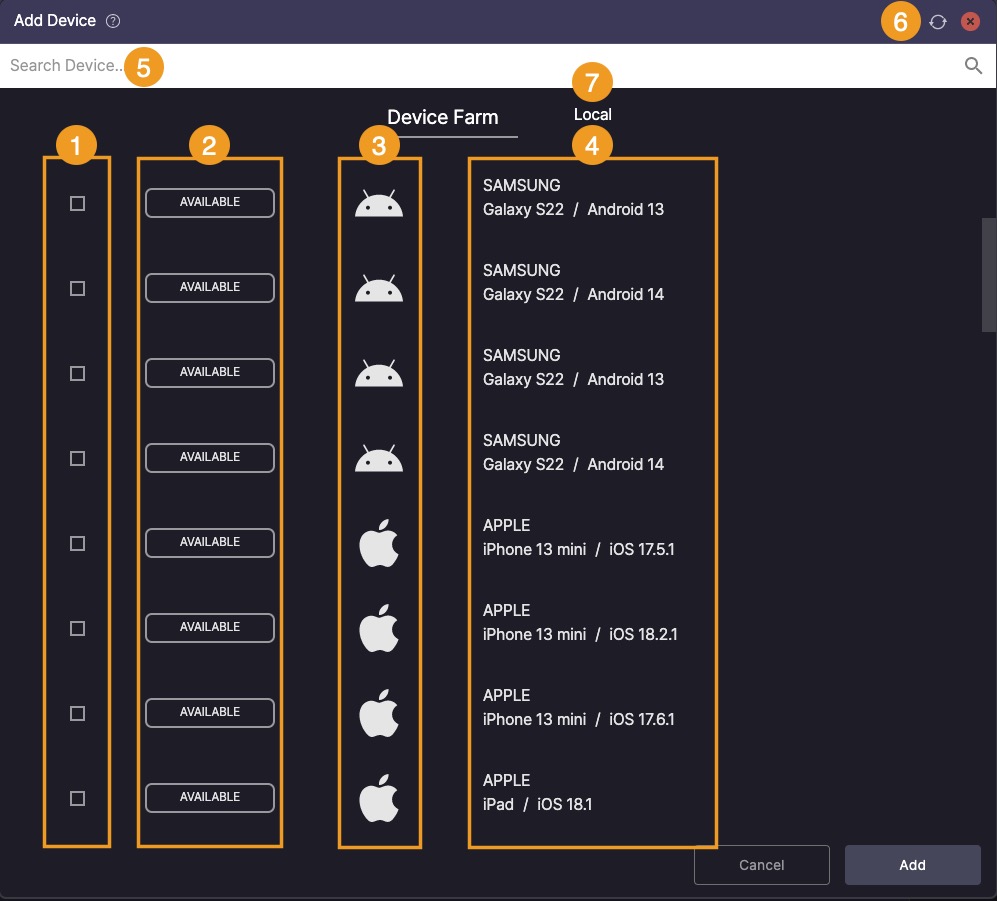
- In the list, select the checkbox for any device marked as AVAILABLE.
- Once selected, the checkbox will appear as
 .
. - Unchecking it will deselect the device.
- Once selected, the checkbox will appear as
- Device Status:
 : Device is available for connection.
 : Device is currently connected.
 : Device is being used by another user or by Ptero; cannot be forcibly disconnected.
 : Device is currently rebooting.
 - View the OS type for each device.
- View the manufacturer, model name, and OS version for each device.
- Use the search bar to filter device information.
- Click the
 icon to update the device list in real time.
 - Local device connection is available with a valid license. This feature is not supported for users on a Trial License. For more information, please contact Apptest.ai.
Up to 4 devices can be connected simultaneously.
After selecting the desired devices, click Add to connect them.

You can view the model name of each connected device in the Device tab (top-right corner).

Once added, a new tab will be created for each connected device.
Disconnecting a device #
- To disconnect a device, click the
 icon next to it.
 - If a device remains inactive for 10 minutes, a timeout popup will appear.
If no action is taken for 1 additional minute, the device will be disconnected automatically.
Enter the Access Key #
By entering the Access Key for your Ptero account in Stego > Settings > Ptero,
you can seamlessly integrate with Ptero’s Scenario Repository and directly upload scenarios created in Stego.
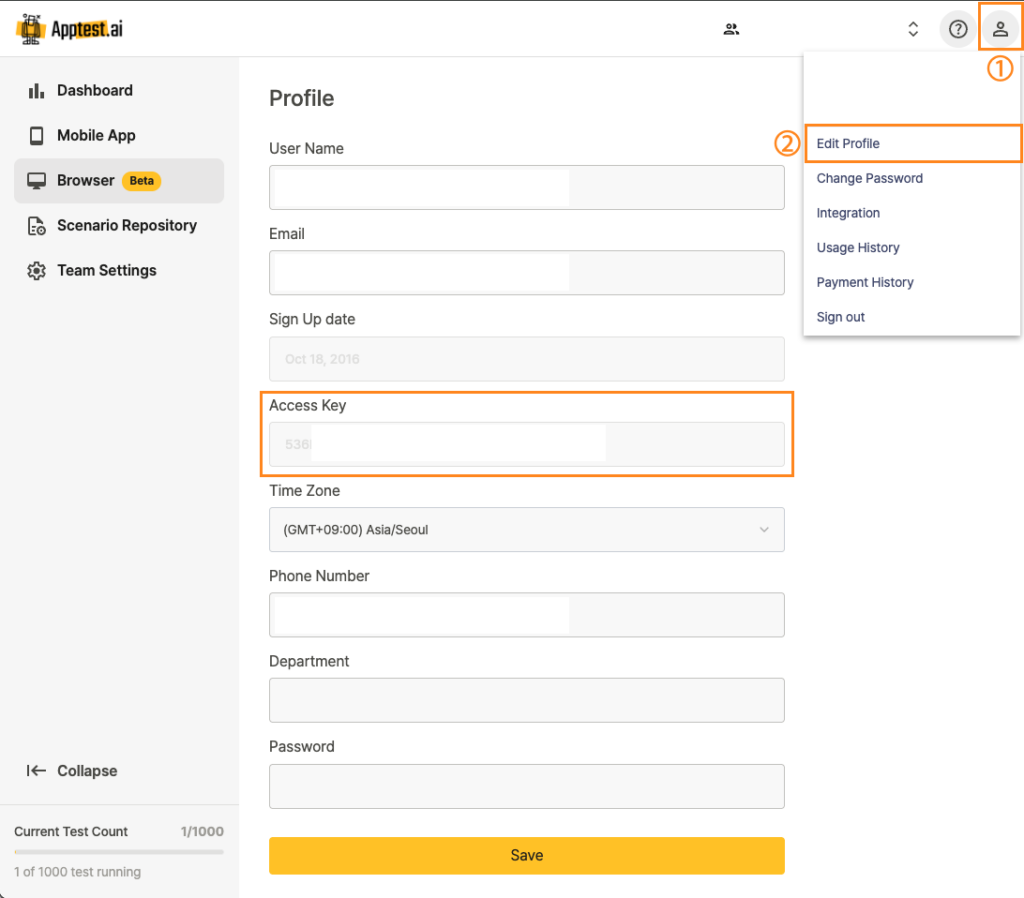
Log in to Ptero(app.apptest.ai) and navigate to ① My Profile > ② Edit Profile to find the Access Key.

Enter the Access Key from your profile into ① Settings > ② Ptero > ③ Access Key in Stego, then click ④ Save.
Update the Stego License #
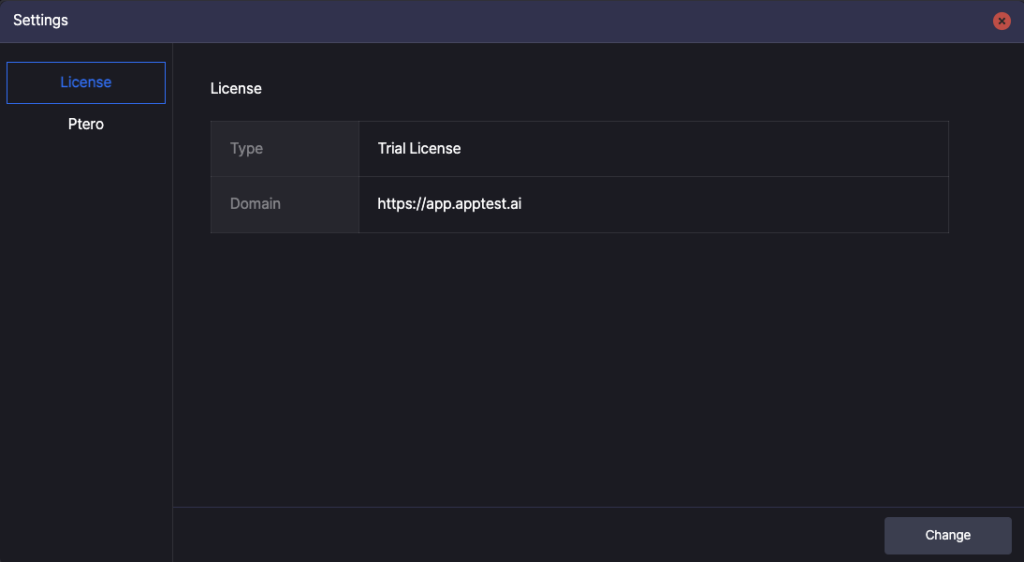
Stego includes a Trial License by default upon installation.
No activation is required for trial users.
If you’ve purchased a license, you should have received a .lic file.
To apply the license:
1. Locate the .lic file provided at the time of purchase.
2. Launch Stego and navigate to Stego > Settings > License.
3. Click Change, then select the .lic file obtained in step 1.
4. Once the license has been successfully applied, close the settings window.