
Creating a Mobile App Test #
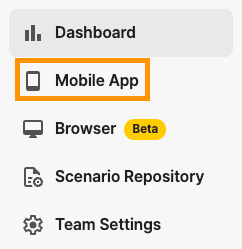
Step 1. To create a test for a Mobile App, click the Mobile App button in the left menu bar.
Step 2. From the project list, click the project where you want to conduct the test.

Step 3. Click ‘Test Suites’ in the left menu bar within the project.

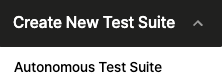
Step 4. Click the Create New Test Suite button in the upper right corner.
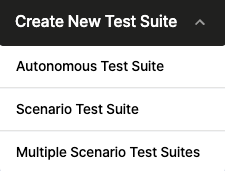
Step 5. To create a test, select one of the following options: Autonomous Test Suite, Scenario Test Suite, or Multiple Scenario Test Suites.
- Autonomous Test Suite: AI automatically explores various features and paths within the app, detecting and reporting any errors it encounters.
- Scenario Test Suite: Validates specific app functionalities based on scenarios created using Stego (AI-powered test scenario authoring tool).
- Multiple Scenario Test Suites: Creates individual Test Suites from separate scenarios written in Stego, allowing you to run multiple test scenarios simultaneously.
Creating Autonomous Test Suite #
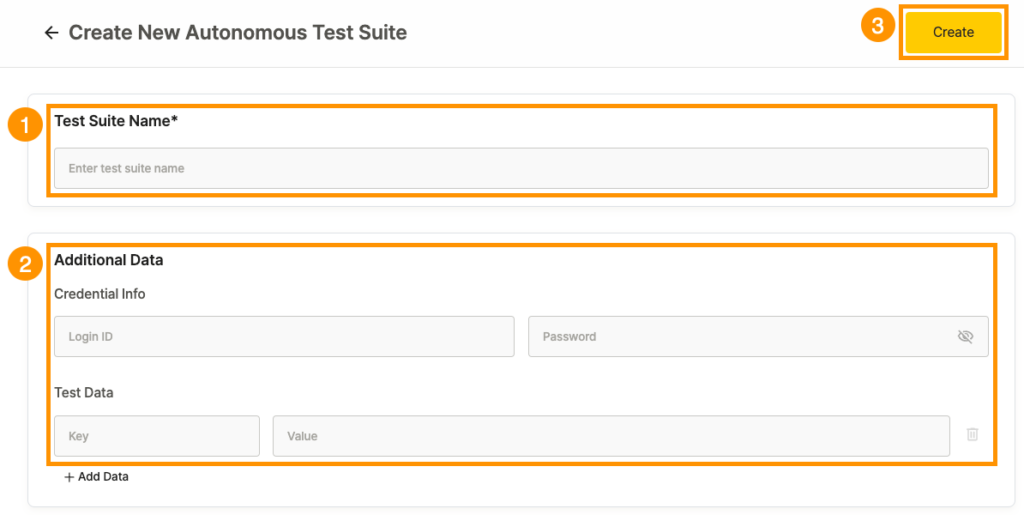
Step 1. Enter the desired Test Suite name in the Test Suite Name field.
Step 2. Fill in the required information for testing in the Additional Data section:
– Credential Info: Enter login credentials (ID, PW) for autonomous exploration testing. When the Test Bot recognizes a login page during testing, it will automatically input the configured credentials.
– Test Data: Enter test data in Key-Value format.
Step 3. Click the CREATE button to generate your Autonomous Test Suite.
Creating Scenario Test Suite #
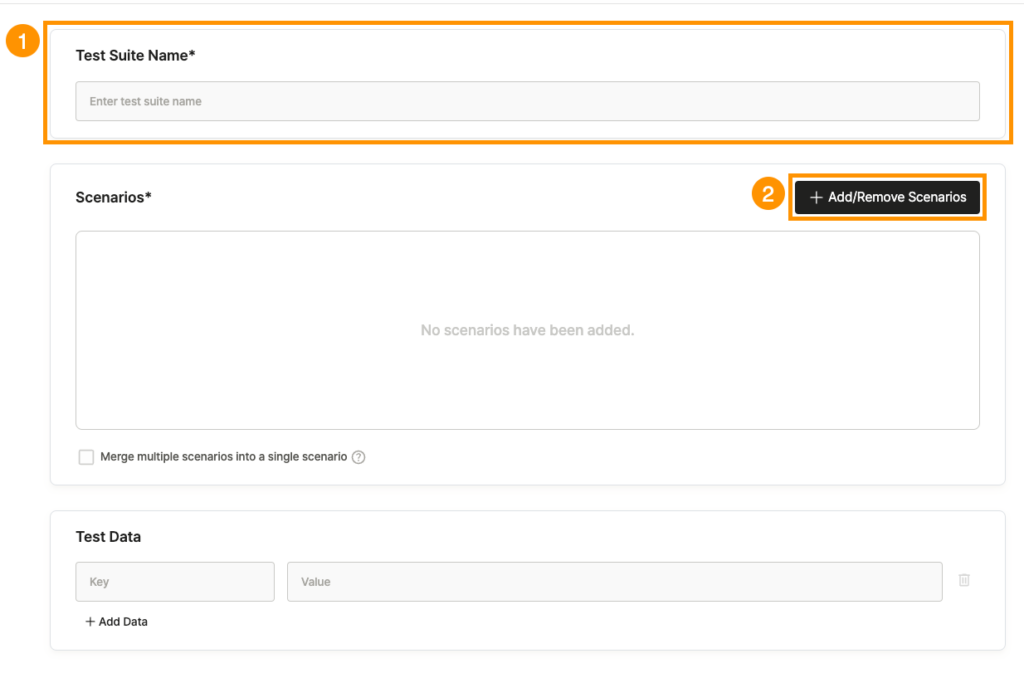
Step 1. Enter the desired Test Suite name in the Test Suite Name field.
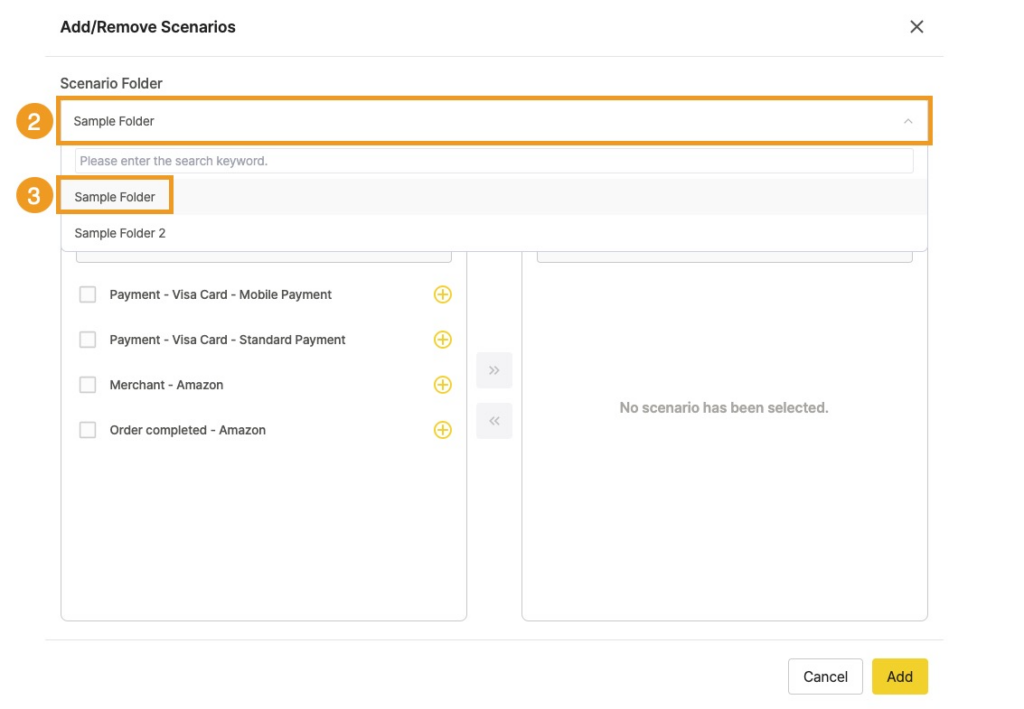
Step 2. Click Add/Remove Scenarios on the right to select the scenarios that will compose your test.
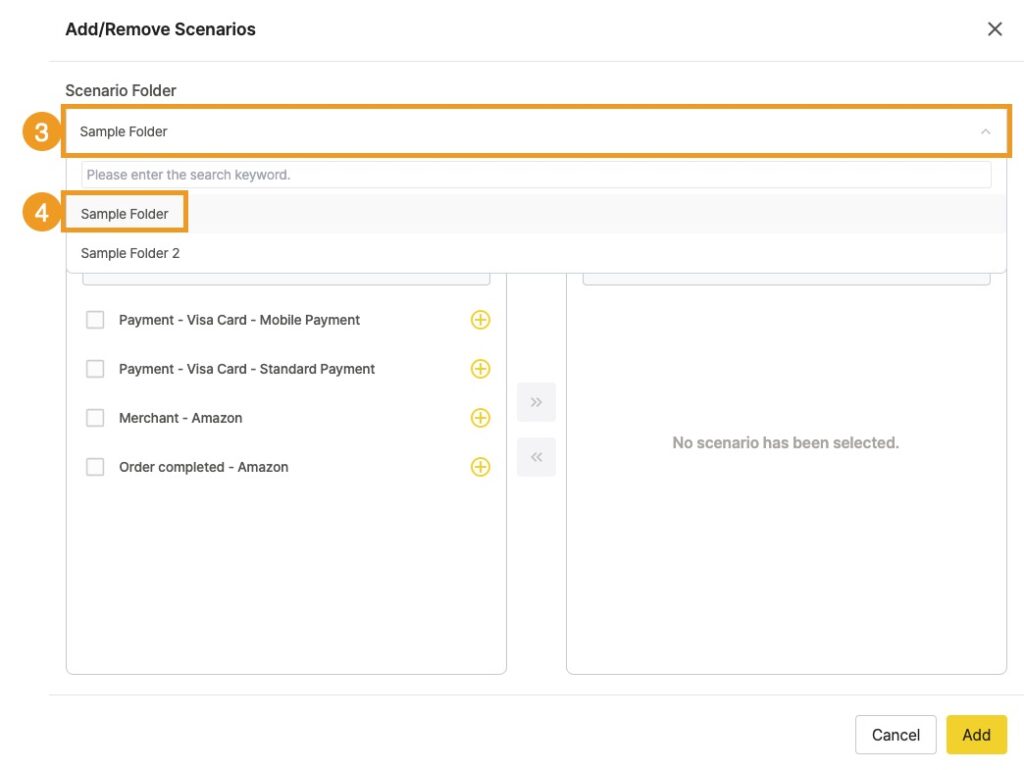
Step 3. Click the Scenario Folder.
Step 4. Click the folder containing the scenarios to add.
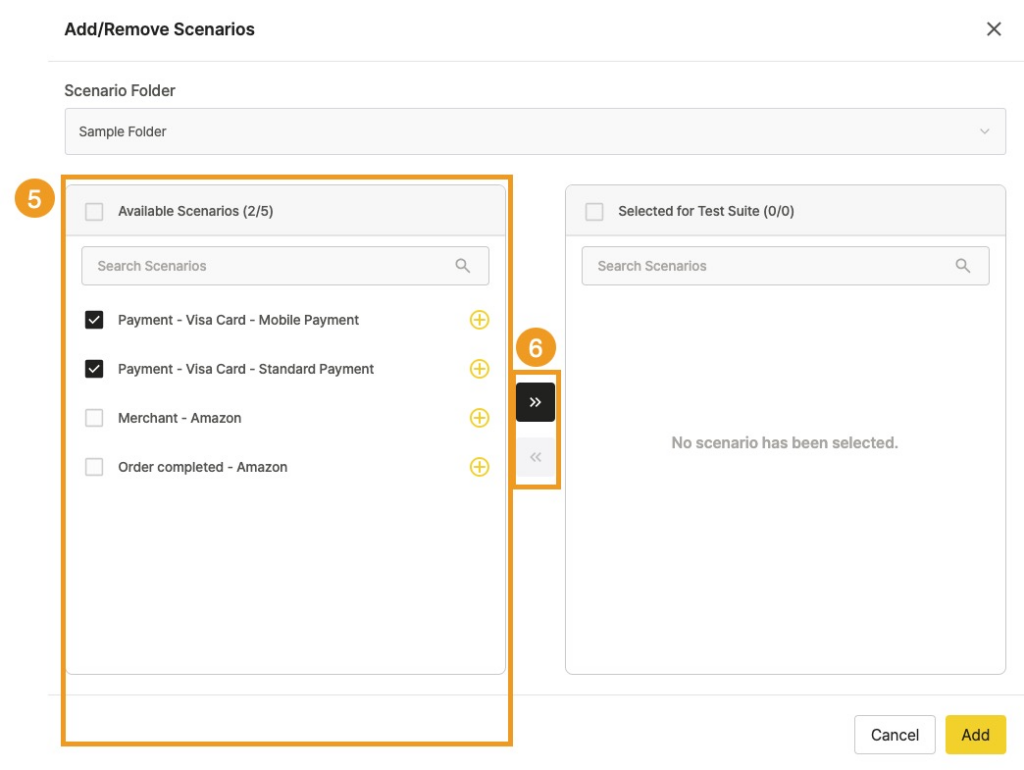
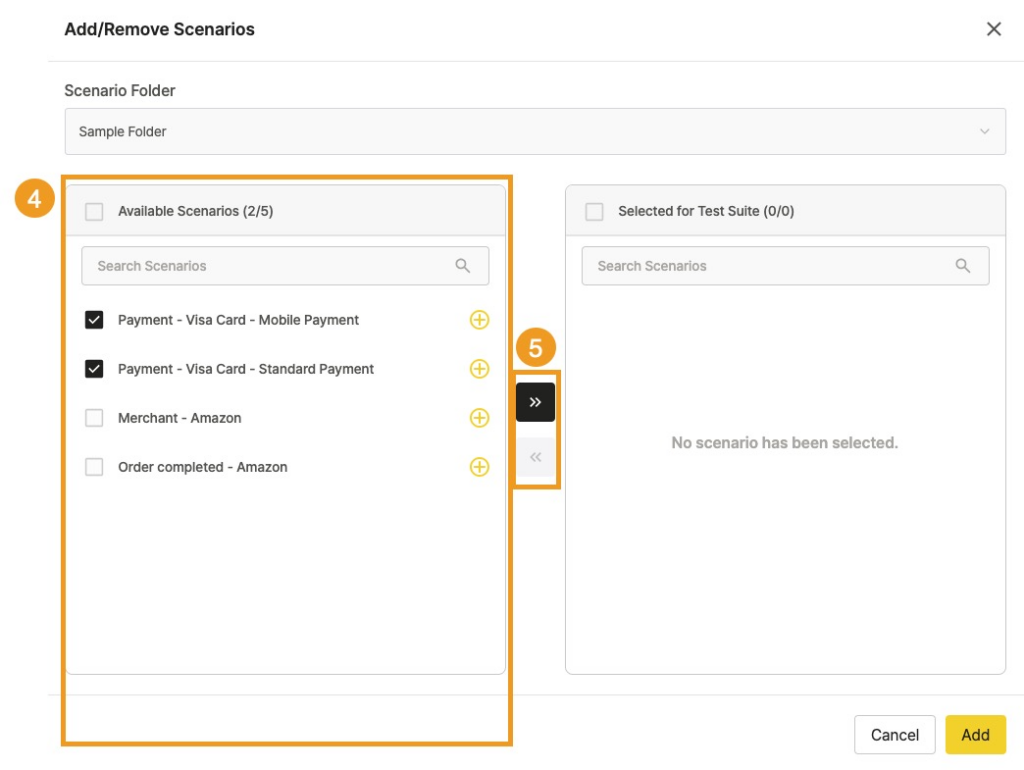
Step 5. From the Available Scenarios list, click the scenarios to add.
Step 6. Move your chosen scenarios to the Selected for Test Suite area by either clicking the arrow button or the + button located on the right of each scenario.
Step 7. Click the Add button to add the scenarios.
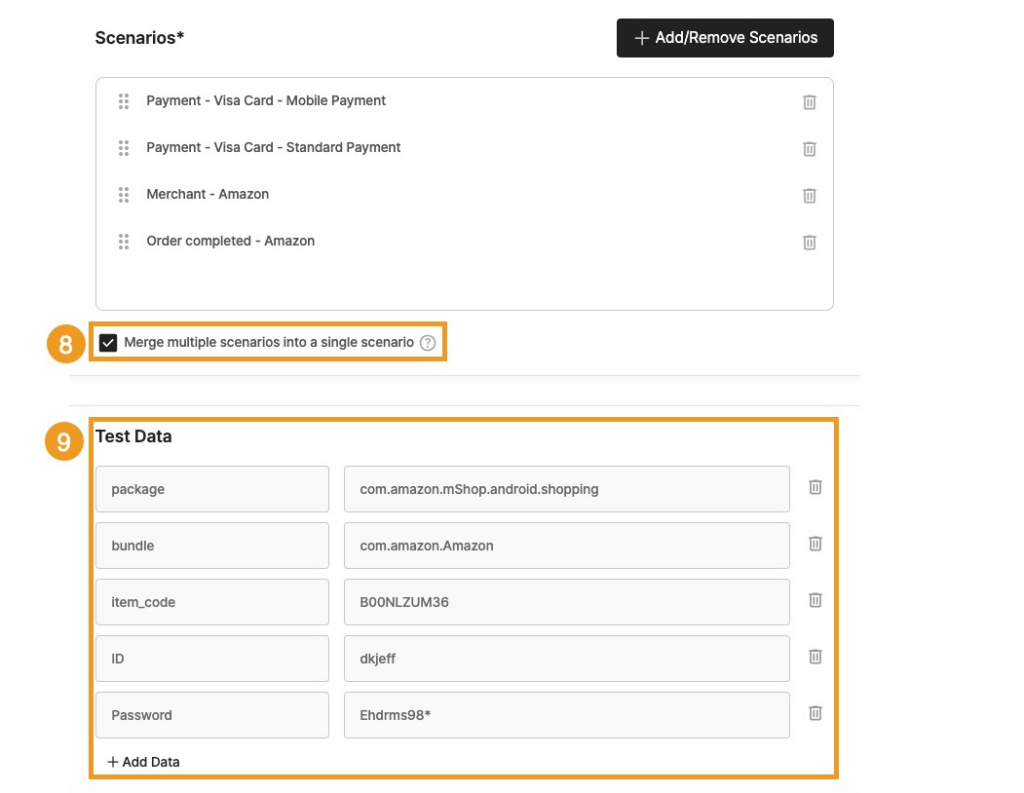

Step 8. If you want to combine the added scenarios into a single scenario for testing, check the box next to “Merge multiple scenarios into a single scenario”.
Step 9. When scenarios are added, User Variables defined during scenario creation are automatically applied as Test Data.
Step 10. Click the Create button to generate your Scenario Test Suite.
Creating Multiple Scenario Test Suite #
The Test Suite Name for Multiple Scenario Test Suites is automatically generated using the scenario name. For example, if the scenario is named “Login Scenario”, the Test Suite Name will be “Login Scenario”.
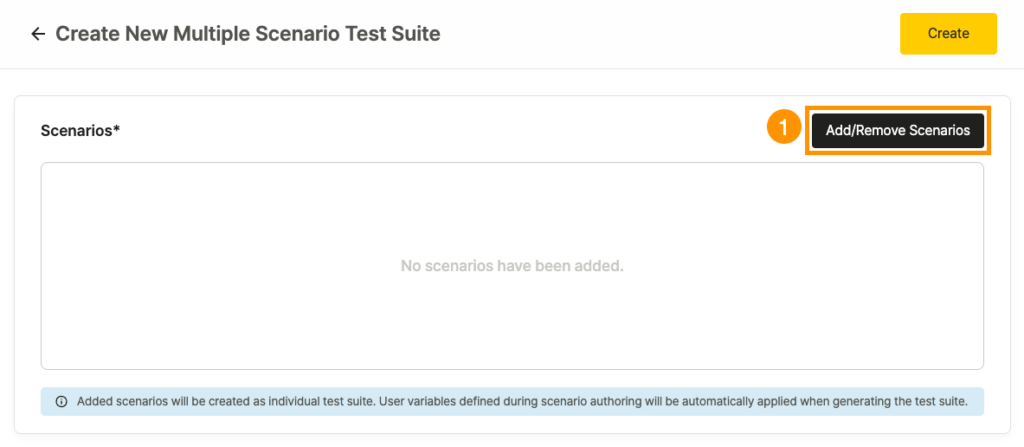
Step 1. Click the Add/Remove Scenarios button.
Step 2. Click the Scenario Folder.
Step 3. Click the folder containing the scenarios to add.
Step 4. From the Available Scenarios list, click the scenarios to add.
Step 5. Move your chosen scenarios to the Selected for Test Suite area by either clicking the arrow button or the + button located on the right of each scenario.
Step 6. Click the Add button to add the scenarios.

Step 7. Click the Create button in the upper right corner to generate your Scenario Test Suite.
Creating a Web Test #
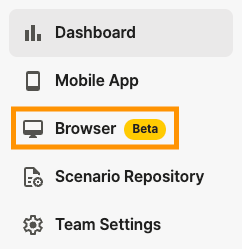

Step 1. To create a test for a Browser, click the Browser button in the left menu bar.
Step 2. From the project list, click the project to execute the test.
Step 3. Click ‘Test Suites’ in the left menu bar within the project.
Step 4. Click the Create New Test Suite button in the upper right corner.
Step 5. Click the Autonomous Test Suite button. (For Browser testing, only Autonomous Test Suite creation is available.)
Step 1. Enter the desired Test Suite name in the Test Suite Name field.
Step 2. Fill in the required information for testing in the Additional Data section:
– Credential Info: Enter login credentials (ID, PW) for autonomous exploratory testing. When the Test Bot recognizes a login page during testing, it will automatically input the configured credentials.
– Test Data: Enter test data in Key-Value format.
Step 3. Click the CREATE button to generate your Autonomous Test Suite.
Managing Test Suite #
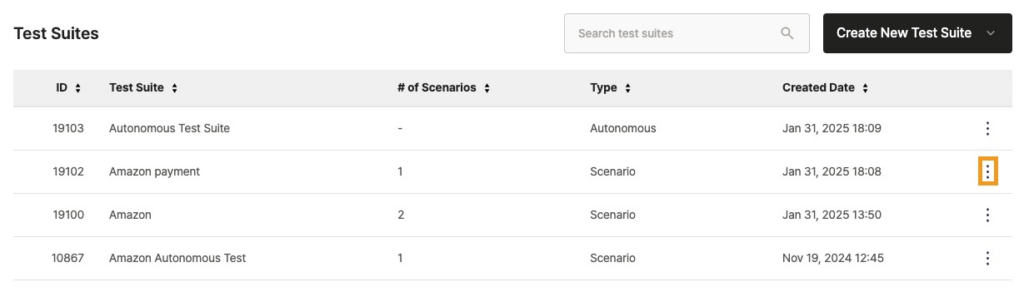
Step 1. Click the kebab menu icon on the right side of the Test Suite to manage.
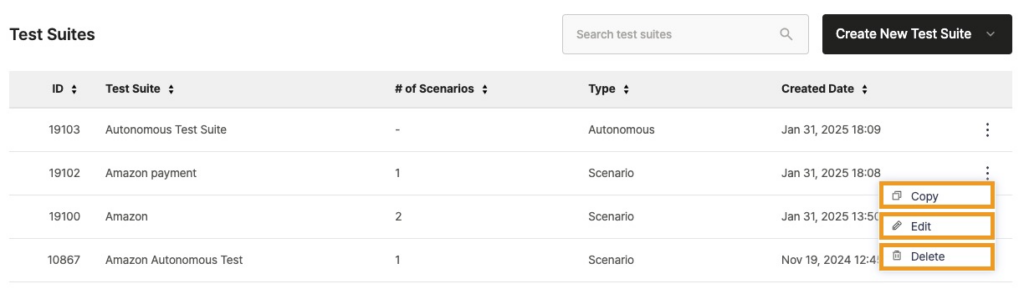
Step 2. Click the desired action from the menu:
– Copy: Creates a duplicate of the selected Test Suite, and its name is assigned in the format: “Original Test Suite Name + ‘Copy’ + Number” (e.g., duplicating ‘test’ -> ‘test Copy 1’).
– Edit: Edits the selected Test Suite
– Delete: Removes the selected Test Suite