
This section explains how to use the Device, UIObject Selector, and Record tabs to control connected devices and select UI elements for your scenarios.
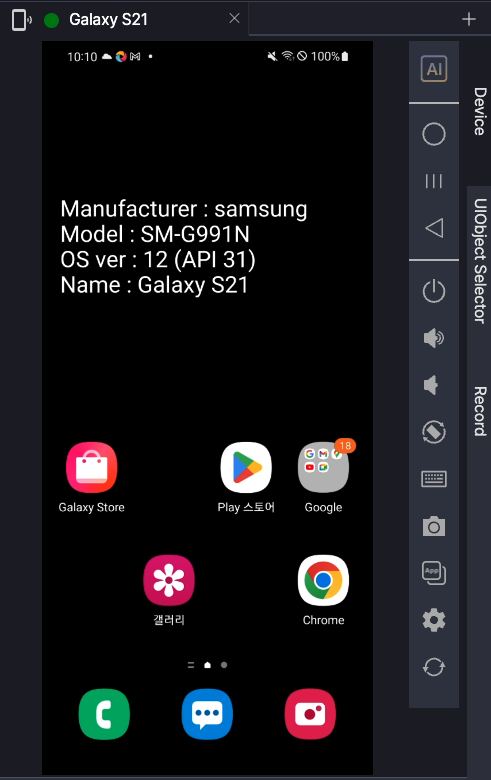
- Use the Device tab to control device behavior and perform real-time actions.
- Use the Record tab to input text for recording actions in scenarios.
- Use the UIObject Selector tab to analyze screens and define UI elements.
To learn more about the device panel, see [Stego User Guide > 2.0 Stego Panel Layout].
Screen Analysis #

Click the Screen Analysis (AI) button to open the UIObject Selector tab.
The AI analyzes the current screen and displays all detected UIObjects.
To learn more about UIObjects, see [Stego User Guide > 7.2 Working with UIObjects].
Basic Controls #

Returns to the device’s home screen.

Displays the list of recently used apps. (Android only)

Returns to the previous screen. (Android only)

Locks or unlocks the device screen.

Increases the device volume.

Decreases the device volume.

Rotates the device screen. (Portrait / Landscape)
Work Tools #


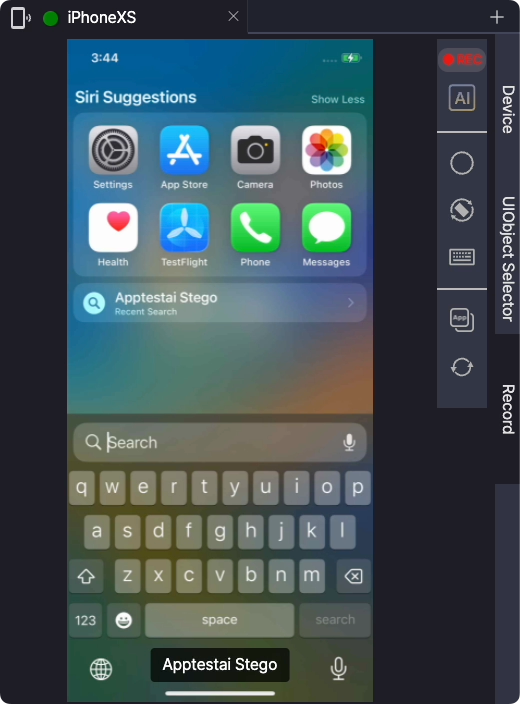
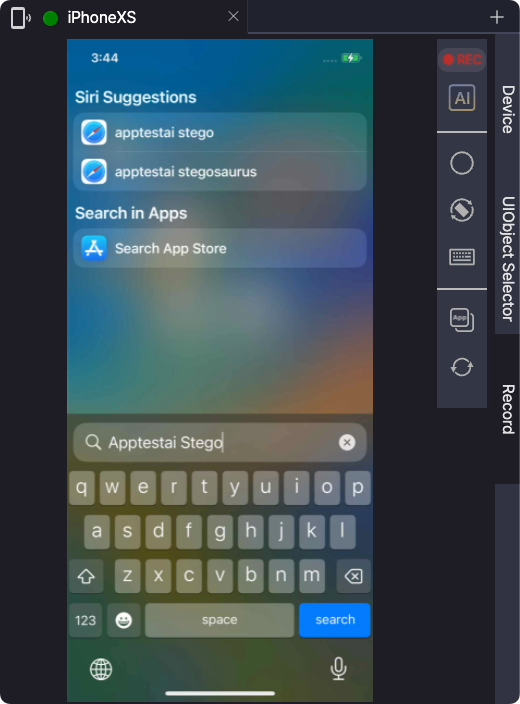
Sends text from Stego to the connected device.
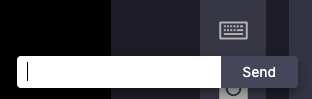
- Make sure the keyboard is visible on the device screen.
- Click the keyboard icon in Stego.
- Enter the desired text in the input field.
- Click Send to send the text to the device.
When the device keyboard is active, you can also type directly from your computer keyboard to send characters to the device.
Device Tab #
Record Tab #
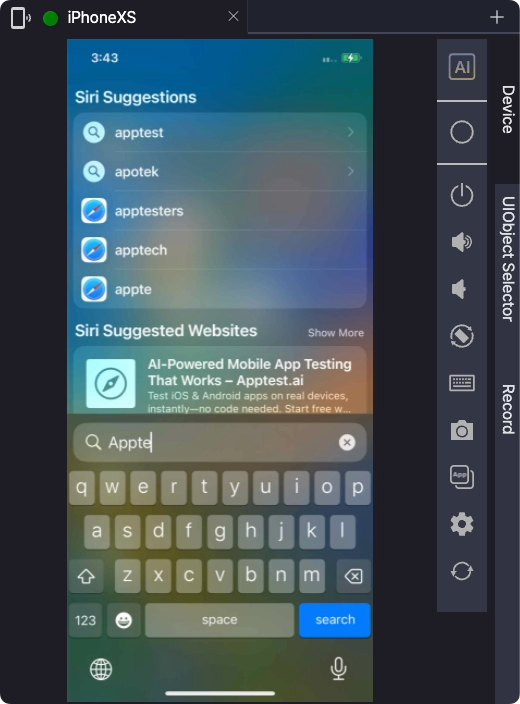
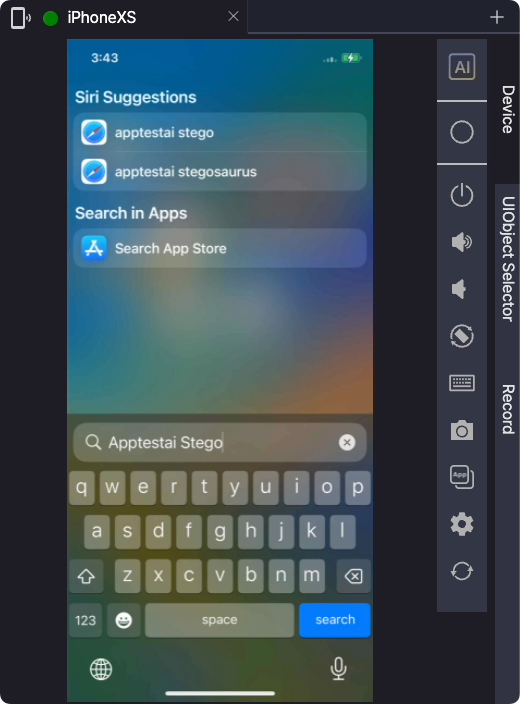
Input behavior differs between the Device tab and the Record tab.
Refer to the following table to use the appropriate method for each case.
| Tab | English Input | Korean Input |
|---|---|---|
| Device Tab | Reflected immediately on the device | Composed characters appear at the bottom center and finalize after additional input |
| Record Tab | Composed text appears at the bottom center and finalizes when pressing Enter | Composed text appears at the bottom center and finalizes when pressing Enter |
Note: On iOS devices, the keyboard may not appear when entering passwords due to Apple security restrictions.


Captures the current device screen and saves it as a .webp file on your PC or Mac.

Checks and copies the current app’s ID displayed on the screen.


Install or uninstall apps.
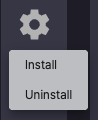
- Install: Install app files (.apk / .ipa).
- Uninstall: Remove an installed app by entering its app ID (e.g., package name or bundle ID).
To learn more about installation troubleshooting, see [Additional Usage Guide > 5.0 Troubleshooting].

Reconnects to the device. Use this when the device screen is unresponsive or the connection is slow.