This section explains how to install Stego on macOS and Windows, and how to manage your license.
Download and Install Stego #
System Requirements #
For supported OS versions and hardware specifications, see the FAQ:
What are the system requirements for installing Stego?
Install on macOS #
- Click the “Download Stego for macOS” button on the Stego Download page.
- Double-click the
dmgfile to open the installer. - Drag Stego.app into your
Applicationsfolder. - Launch Stego using Launchpad or Spotlight.
Install on Windows #
- Click the “Download Stego for Windows” button on the Stego Download page.
- Double-click the downloaded
.exefile to start the installation. - If Windows Defender SmartScreen appears, click
More info, then selectRun anyway. - Follow the on-screen instructions to complete setup.
- By default, Stego is installed at:
C:\Program Files\Stego\Stego.exe
Adding a License #
A Trial license is included by default on initial installation.
If no license file (.lic) has been registered, you may see the screen below when you launch the app for the first time.
Drag and drop your license file, or click Upload File to select it. Then hit Register to finish setup.

Login #
Sign in with your apptest.ai account (app.apptest.ai).
We don’t support social login, but if you sign up using the same email address, your accounts will be linked automatically.
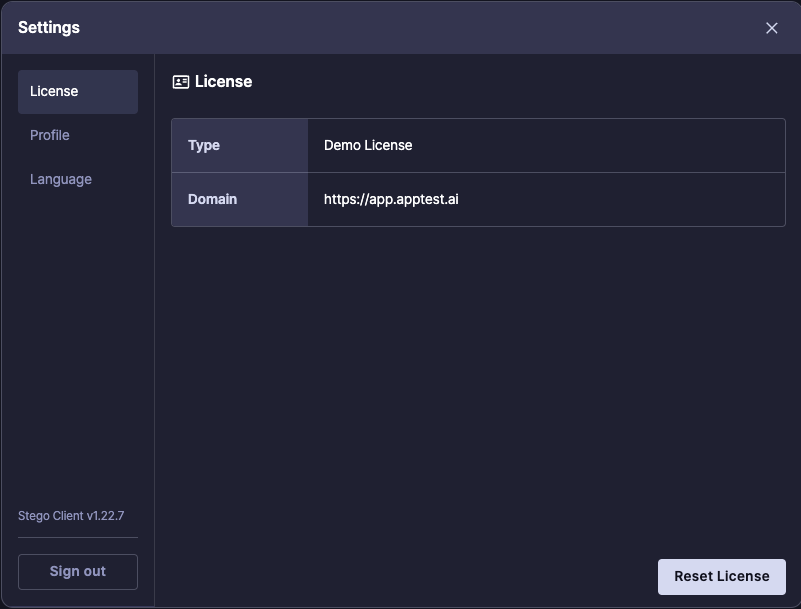
To register a different license, click Reset License to clear your current one.

Stego includes a built-in trial license, so you can start using the app right after installation.
To check your current license:
1. In the menu bar, choose Stego > Settings > License.
2. Review the current license status.
Managing Your License #
Click the profile icon in the top right and head to Settings to check your license info. If you need to start fresh, click Reset License.