
What is Scenario Repository? #
The Scenario Repository in Ptero is a space where you can upload scenarios created in Stego, manage them, and load these scenarios for testing across different projects.
Here are several key reasons why the Scenario Repository is essential:
- Centralized Scenario Management: Easily monitor and manage multiple test scenarios in one place.
- Test Automation: Uploading scenarios to Ptero’s scenario repository enables automated test execution, making repetitive testing tasks more efficient.
- Collaboration and Sharing: Scenarios uploaded to the repository can be shared within your team, facilitating collaboration as team members can use and modify the same scenarios.
- Version Control: You can systematically manage scenario versions, allowing you to revert to previous versions and track update histories.
- Test Execution Consistency: Ensure consistent testing across various Ptero devices, enhancing the reliability of test results.
There are two ways to upload scenarios to Ptero’s scenario repository:
- Uploading scenarios directly from Ptero.
- Integrating Stego with Ptero and uploading from Stego.
※ For detailed instructions on uploading scenarios via Stego, refer to the “Uploading a scenario to Ptero“
Uploading Scenarios #
On the main screen of Ptero, you can upload scenarios created with Stego via the Scenario Repository in the left-side menu bar.
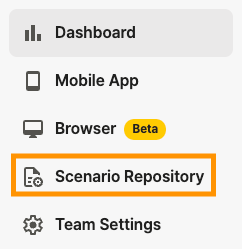
Step 1. Click Scenario Repository.

Step 2. Click the Create New Folder button.
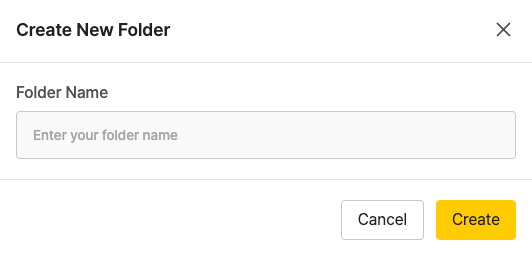
Step 3. Enter the folder name and click Create.
2. Upload Scenarios to a Folder #


Step 1. Click on the added folder in the list, then click the ‘+ Add Scenario’ button in the upper right corner.
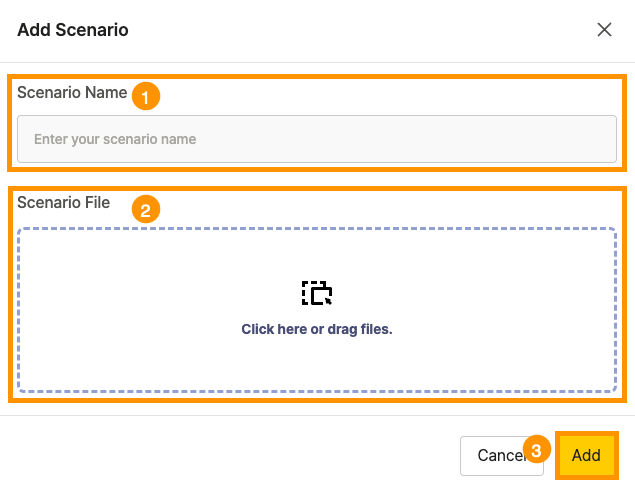
Step 2.
① Enter a name for the scenario to upload.
② To add your scenario, either click the ‘Click here or drag files.’ area or drag files to this location.
③ Once your file appears in the ‘Click here or drag files.’ area, click the ‘Add’ button.
Note) Only .stego and .zip file formats are supported.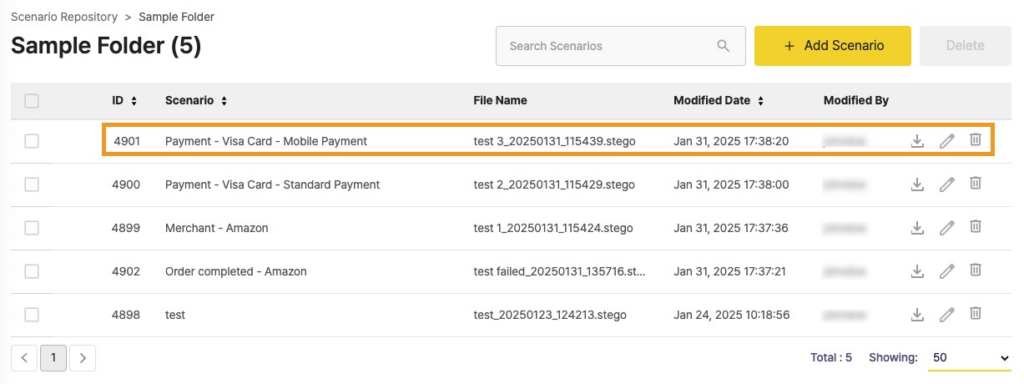
Step 3. Verify that the added scenario has been saved to the scenario list.
Scenario Management #
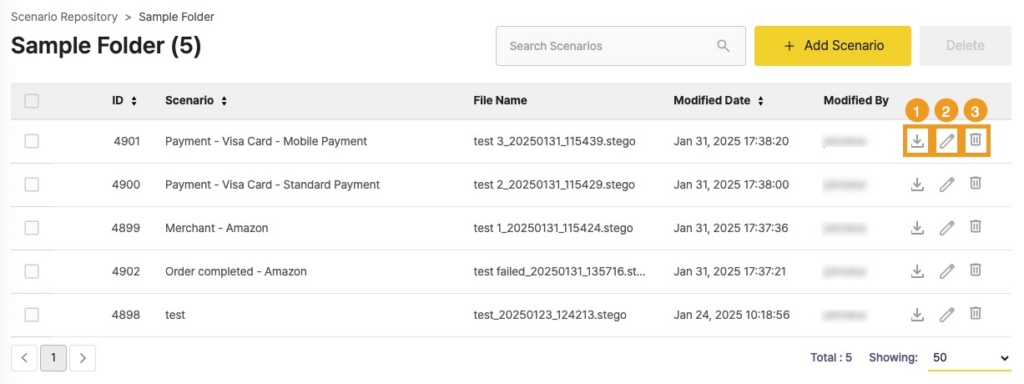
① Download the scenario
② Edit the scenario filename
③ Delete the scenario