
This section explains how to configure descriptions, user variables, runtime options, and device roles for a scenario.
Click the gear icon  at the top of the Scenario Editor panel to open Scenario Settings.
Available Tabs:
- General: Add a scenario description.
- User Variables: Define and reuse key-value pairs across runs.
- Runtime: Configure execution options that affect flow and stability.
- D2D Test: Assign device roles when D2D Test is enabled.
General #
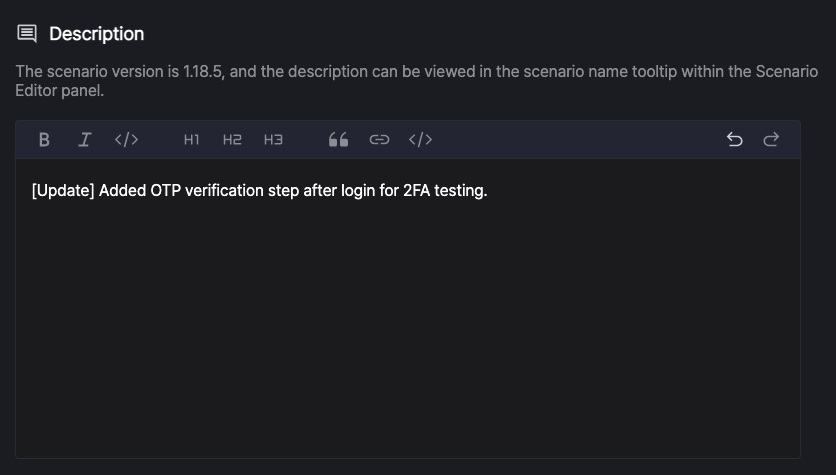
Add a description to identify the scenario and share details with other users.
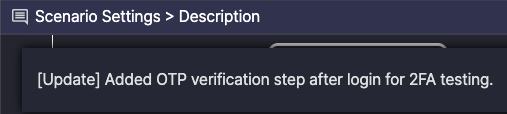
The Description displays as a tooltip when hovering over the scenario name in the Scenario Editor panel.
Add a description to identify the scenario and share details with other users.
User Variables #
Define key-value pairs for repeated use during scenario runs.
The User Variables tab displays:
- Variables added to the current scenario.
- Variables imported from Common Scenarios.
Add User Variables #
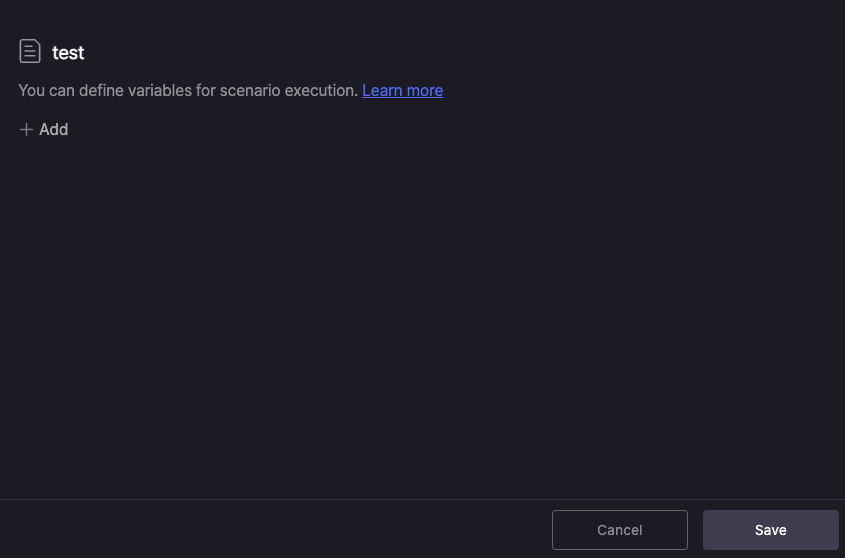
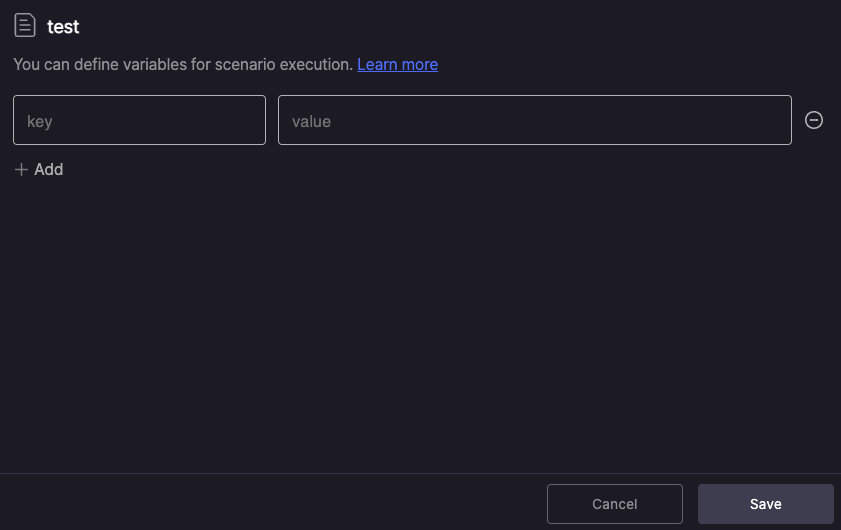
- Click + Add.
- Enter Key and Value.
- Click Save.
Setting Rules #
- Key Rules:
- Cannot contain spaces.
- Must be unique.
- Case sensitive.
- Value Rules:
- Can be empty.
Edit and Delete #
- Edit: Change the Key or Value, then click Save.
- Delete: Click Delete
 , then click Save.
Encryption #
Encrypt sensitive data like passwords using the lock icon  .
.
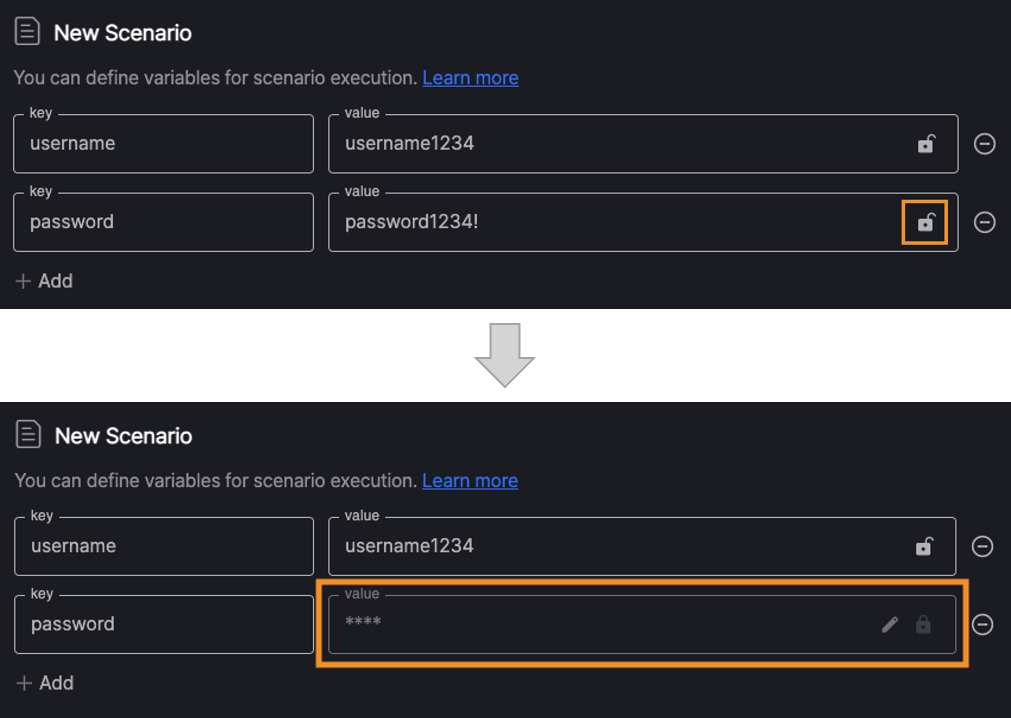
Encrypted values display as ****.
Click the edit icon  to replace the value. Editing deletes the existing value.
How to Use #
- Insert ${Key} in the scenario to use its Value during runs.
- Example: If Key = age and Value = 34, ${age} resolves to 34.
To learn more, see [Additional Usage Guide > 2.0. Working with Input Data].
Runtime #
Wait for Navigation #
Set the maximum wait time for screen transitions before the next step executes.
Prevents errors from executing steps too early during transitions.

- Default: 3,000ms (3 seconds)
- 0: Disables the wait.
Self-Healing #

Retry failed steps caused by screen transition delays or UIObject recognition errors during Motion actions.
- Automatically returns to the previous step and re-executes.
- Displays retry actions in the Output panel.


You can see Self-Healing applied in the Output panel.
Example:
Touch Safaristep executed successfully.Touch input fieldstep fails, triggering 2 retry attempts.- Self-Healing restarts from
Touch Safaristep.- Message:
Goto - Self Healing is enabled. Retrying from the Touch Safari step for recovery.
- Message:
Touch input fieldstep executes successfully.
D2D Test #
Assign device roles for device-to-device testing. Available only when D2D Test is enabled.
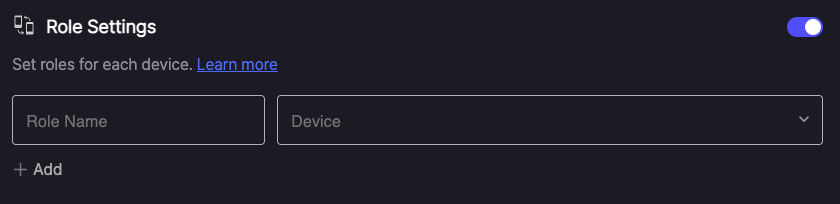
Turn On Role Settings #
Toggle Role Settings on to display the role configuration panel.
Set Roles and Devices #
Enter Role Name
Enter a Role Name for each device (e.g., sender, receiver).
Choose Device
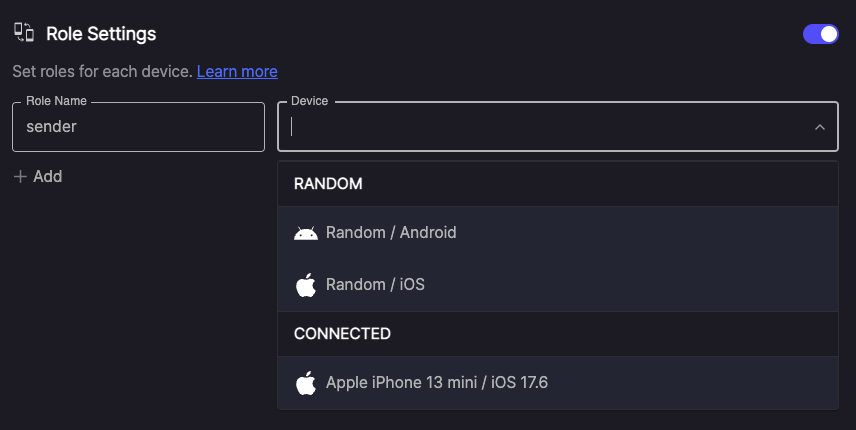
Select a device for each role:
- No devices connected: Select
Random / AndroidorRandom / iOS. - Devices connected: Select a connected device or
Random.
Manage Roles #
- Add: Create up to 4 roles.
- Remove: Click Remove to delete a role.