
Uploading Scenarios #
Scenarios are managed at the team level, allowing team members to share uploaded scenarios.
There are two methods for uploading scenarios: Ptero Integrated Upload and Manual Upload via Stego.
Ptero Integrated Upload #
By entering an Apptest.ai account’s Access Key in Stego, it integrates with Ptero’s Scenario Repository, enabling direct scenario uploads from Stego.
This allows for more efficient scenario management.
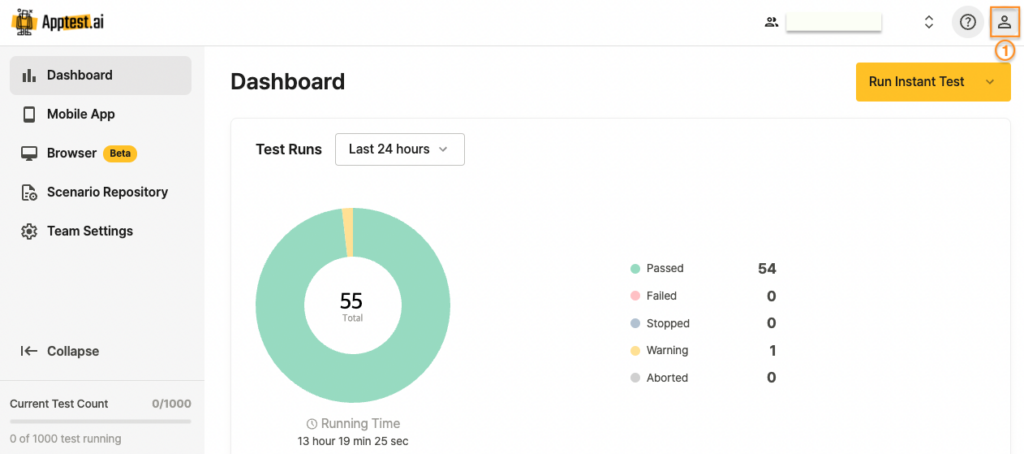
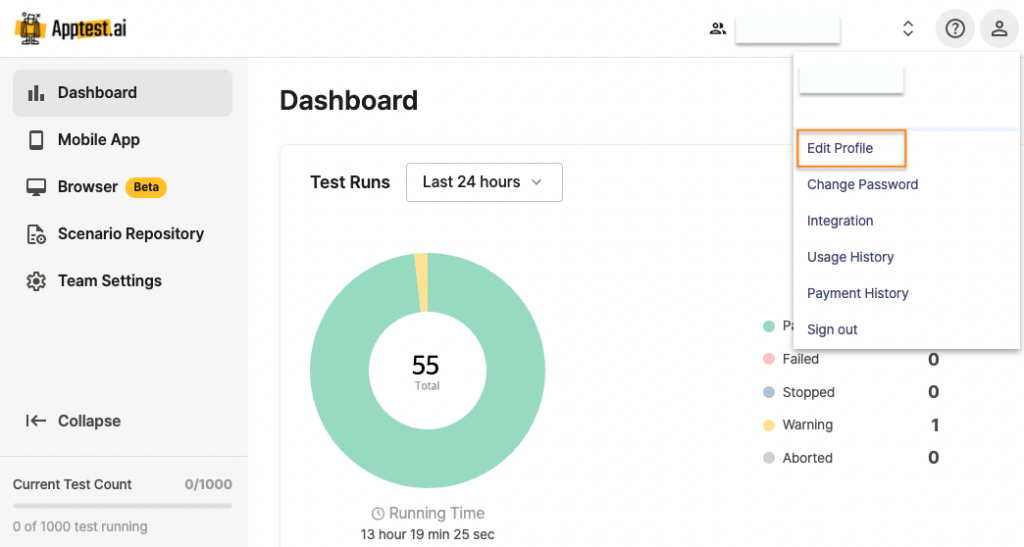
① Select My Profile to navigate to the Edit Profile screen.
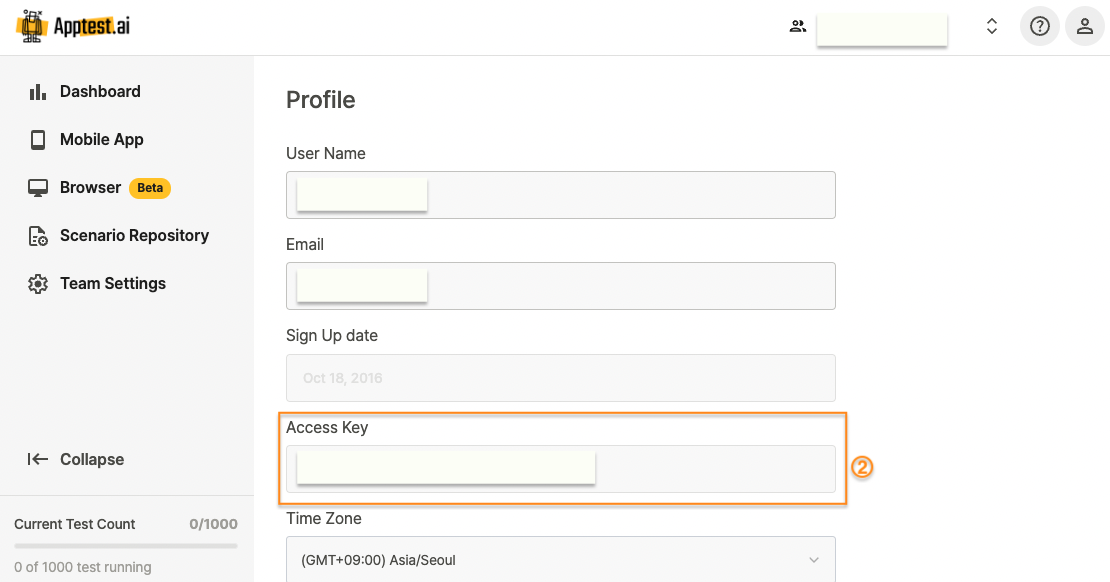


② Copy the Access Key from My Profile and enter it in Stego > Settings > Ptero > Access Key Field, then save.

(Example of Successful Connection)


③ Right-click the folder to be linked with the Scenario Repository in Ptero and set it as the link target.
- If a folder with the same name already exists in the Scenario Repository, it will be linked.
- If not, a new folder with the same name will be created in Ptero.
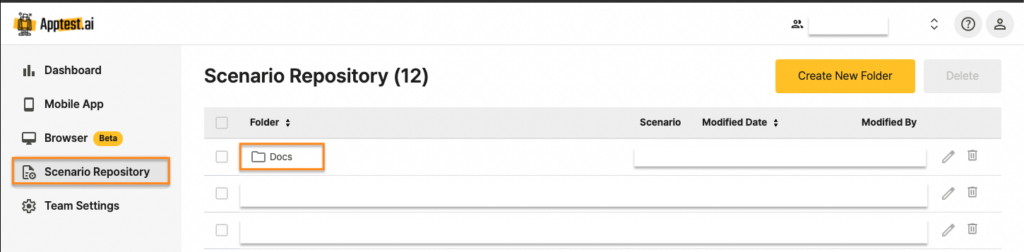
(Example of folder creation in Scenario Repository)


④ Right-click the scenario to upload it from Stego.
(Multiple scenarios can be selected using Shift for batch uploads.)

Once the upload is complete, a checkmark will appear, indicating successful upload to Ptero.
You can verify the uploaded scenario in the Ptero Scenario Repository.
Manual Upload via Stego #
This method involves exporting scenarios from Stego and uploading the exported file manually to Ptero.


① Export the scenario from Stego.
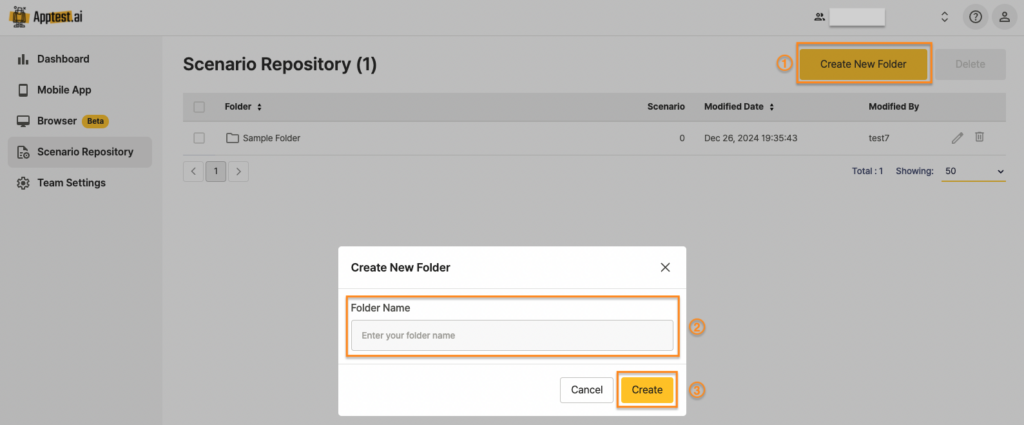
② Click “Create New Folder”, enter a folder name, and create the folder.
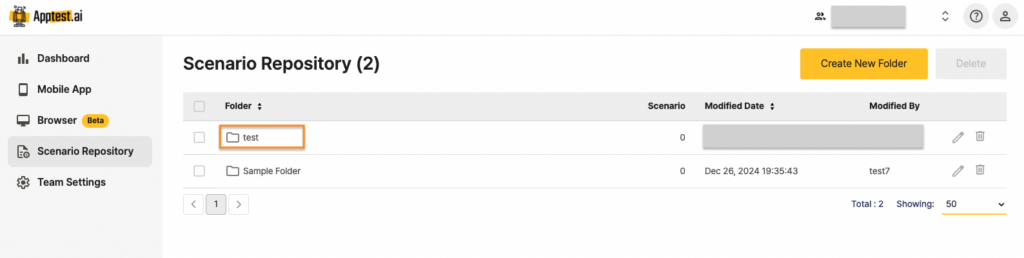
③ Select the newly created folder.
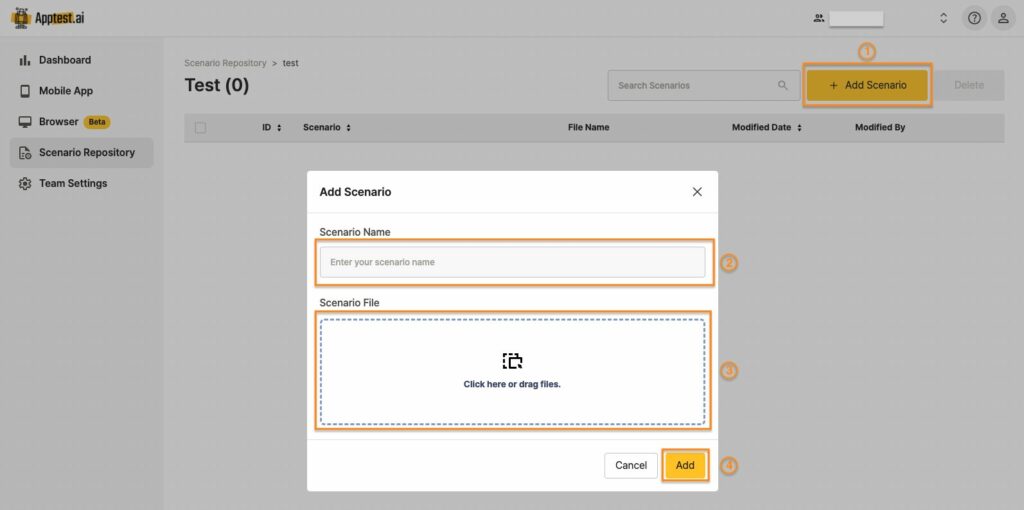
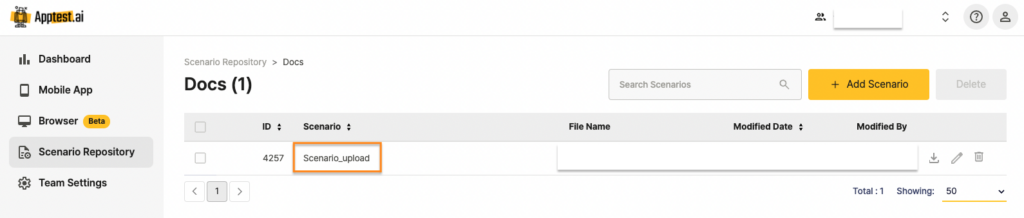
④ Click “Add Scenario”, enter the scenario name, upload the file, and click “Add.”
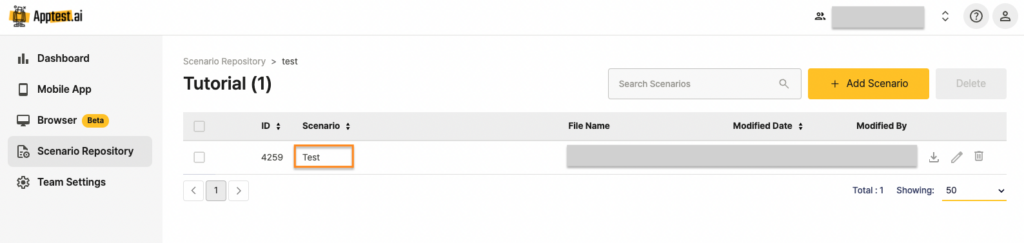
(Example of completed scenario upload screen)
For downloading scenarios, refer to Downloading Scenarios from Ptero.