
Uploading Scenarios #
Scenarios are managed at the team level, allowing team members to share uploaded scenarios.
There are two methods for uploading scenarios: Uploading via Ptero Integration and Uploading via File Import (.stego).
Uploading via Ptero Integration #
By entering an Apptest.ai account’s Access Key in Stego, it integrates with Ptero’s Scenario Repository, enabling direct scenario uploads from Stego.
This allows for more efficient scenario management.
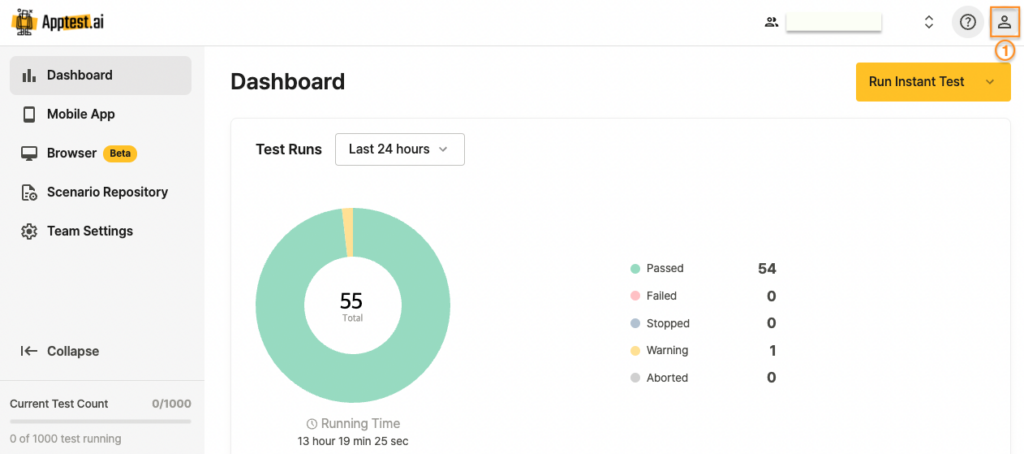
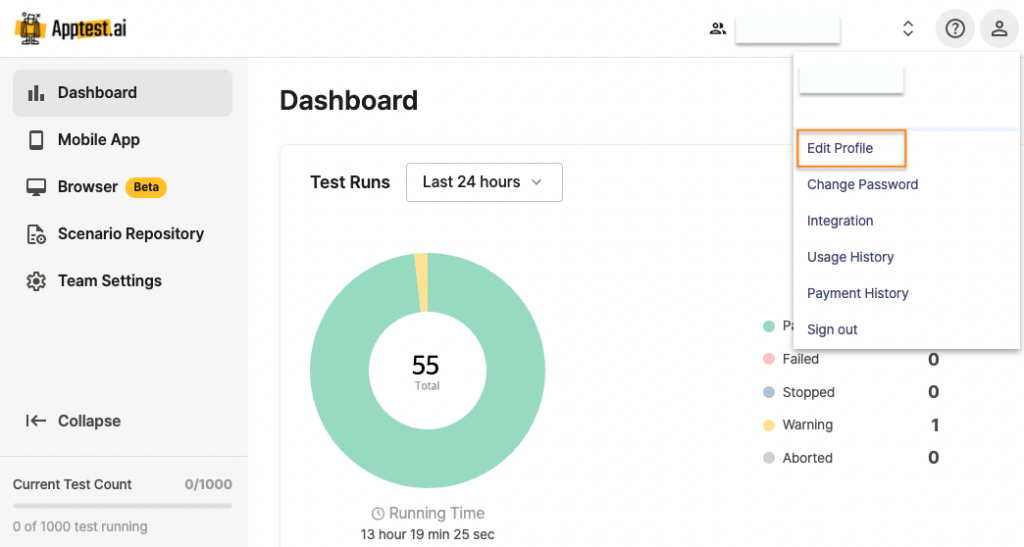
① Select My Profile to navigate to the Edit Profile screen.
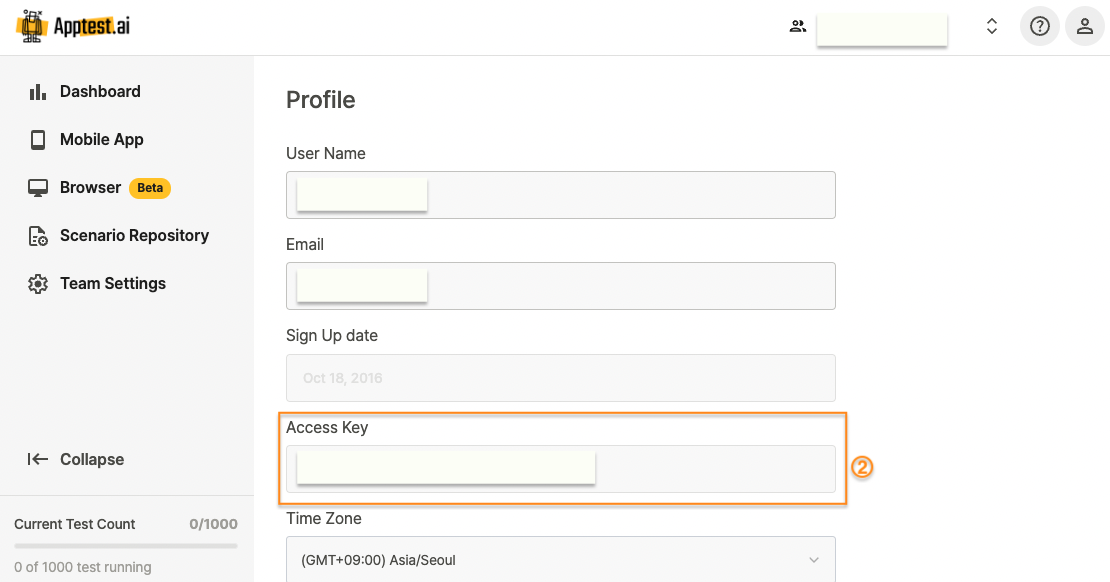


② Copy the Access Key from My Profile and enter it in Stego > Settings > Ptero > Access Key Field, then save.

(Example of Successful Connection)


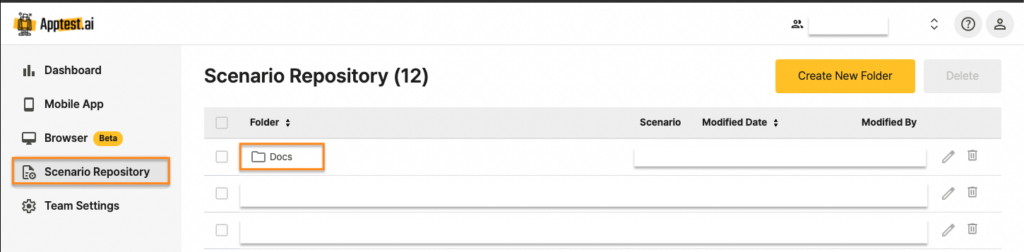
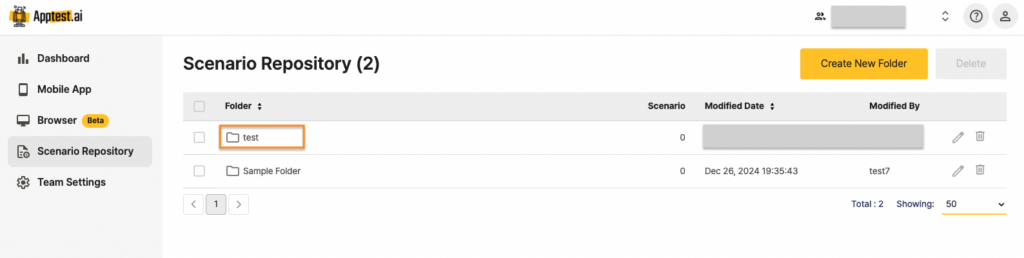
③ Right-click the folder to be linked with the Scenario Repository in Ptero and set it as the link target.
- If a folder with the same name already exists in the Scenario Repository, it will be linked.
- If not, a new folder with the same name will be created in Ptero.
(Example of folder creation in Scenario Repository)
④ You can upload a scenario in Stego using one of the following two methods:
Method 1. Right-Click Upload
1. Select the scenario you want to upload.
2. Right-click and choose Upload. The Upload Scenario window will open.
3. Review the list of scenarios to be uploaded, then click the Upload button.
Method 2. Upload Button
1. If there are changes in the scenario, the upload icon in the upper-right corner of the Scenario Management Panel will be automatically activated.
2. Click the upload icon to open the Upload Scenario window.
3. Review the list of scenarios to be uploaded, then click the Upload button.
Uploading via Right-Click #

1. Select the scenario you want to upload.
2. Right-click the selected scenario and choose Upload. This opens the Upload Scenario window.
3. To upload multiple scenarios at once, hold the Shift key and select additional scenarios.

Review the list of scenarios, then click the Upload button.
Uploading via the Upload Icon #
When a scenario or common scenario is modified, the upload icon in the upper-right corner of the corresponding management panel is automatically activated.


Clicking this icon opens the Upload Scenario window.
If you are uploading a scenario, review the list of scenarios in the window and click the Upload button to proceed.
When uploading a common scenario that is referenced by other scenarios, all related scenarios will be uploaded automatically.
This ensures consistency across all scenarios that share the same Common Scenario.
Note) A Common Scenario is a reusable sequence of steps that can be referenced by multiple scenarios.
For more information, see  What is a Common Scenario?.
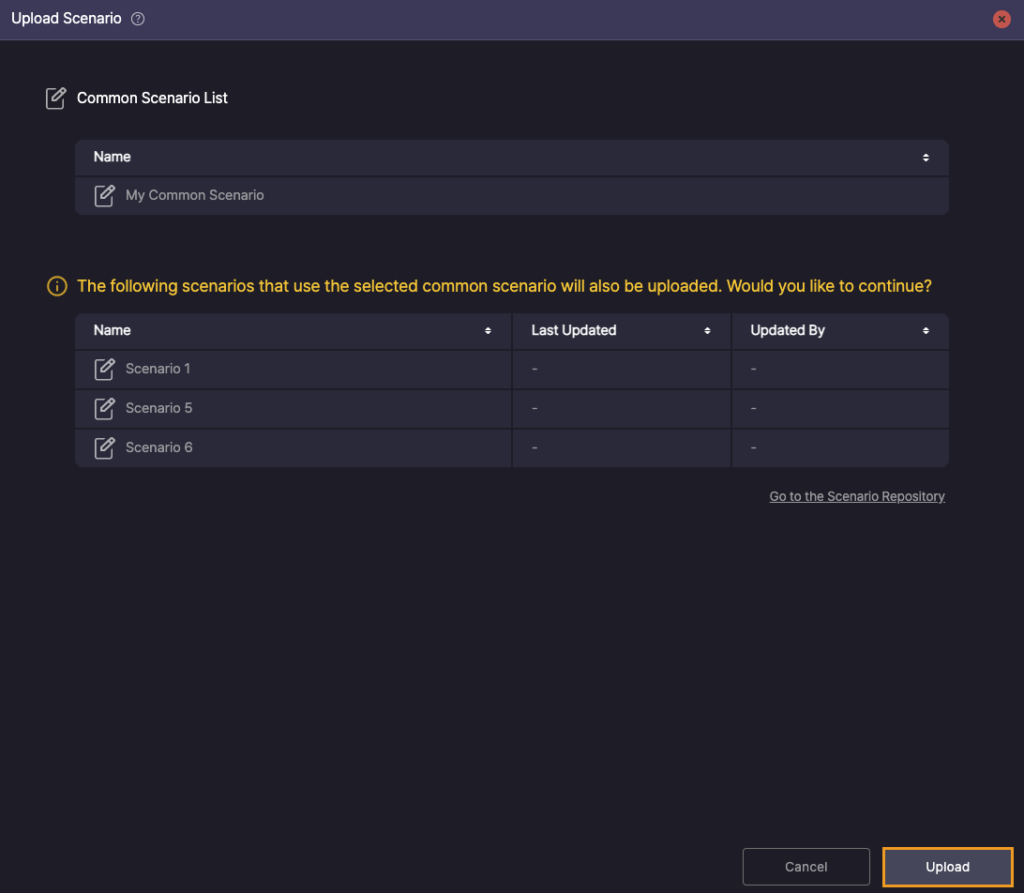
You can view the Common Scenario being uploaded, along with all scenarios that reference it.
After reviewing the list of Common Scenarios to be uploaded, click the Upload button to proceed.

Common Scenarios are uploaded in the same way as scenarios.
Once the upload is complete, a check icon  will appear in the Status column.
You can verify the uploaded scenario in the Ptero Scenario Repository.
Uploading via File Import (.stego) #
This method involves exporting scenarios from Stego and uploading the exported file manually to Ptero.


① Export the scenario from Stego.
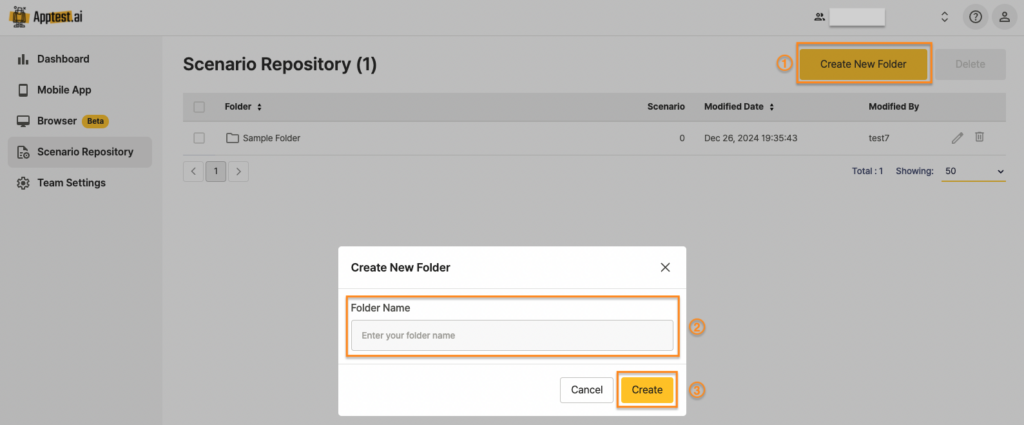
② Click “Create New Folder”, enter a folder name, and create the folder.
③ Select the newly created folder.
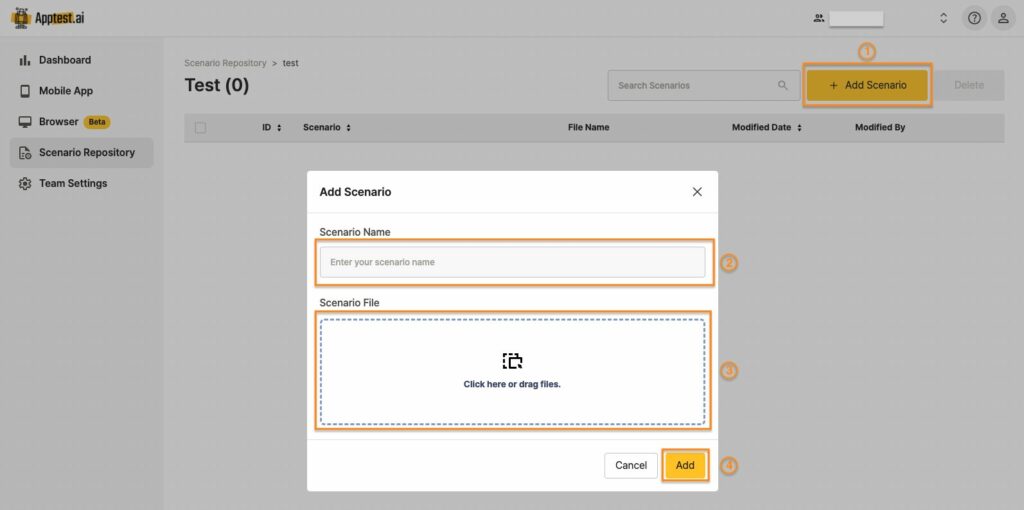
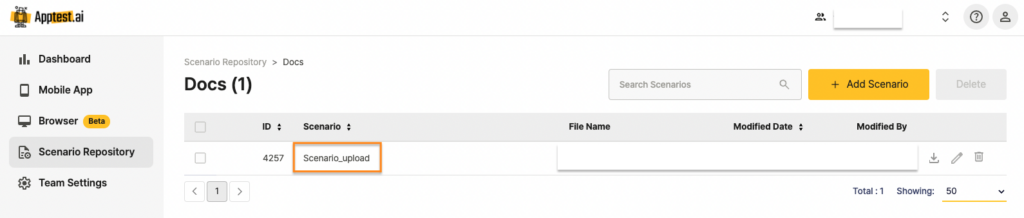
④ Click “Add Scenario”, enter the scenario name, upload the file, and click “Add.”
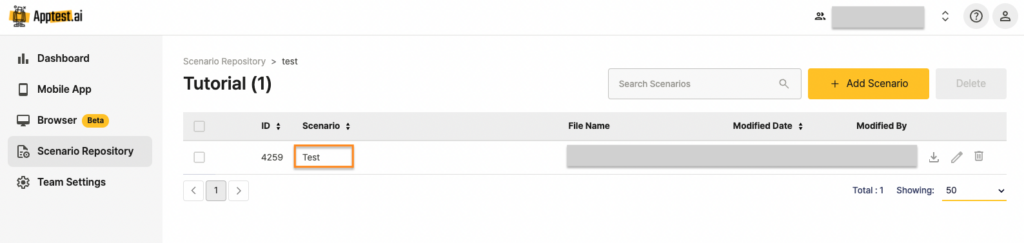
(Example of completed scenario upload screen)
To enhance maintainability and accessibility, it is recommended to use an Access Key. For more information, see Uploading via Ptero Integration.
For downloading scenarios, refer to Downloading Scenarios from Ptero.